Authentication & Settings
Log in, reset your password, and manage your profile, password, and appearance settings.
Overview
Signals Rental Framework uses Laravel's built-in authentication with Sanctum for API tokens. All authentication pages are accessible without logging in, while settings pages require an active session.
Login
Visit /login to sign in with your email and password. Check Remember me to stay signed in across browser sessions.
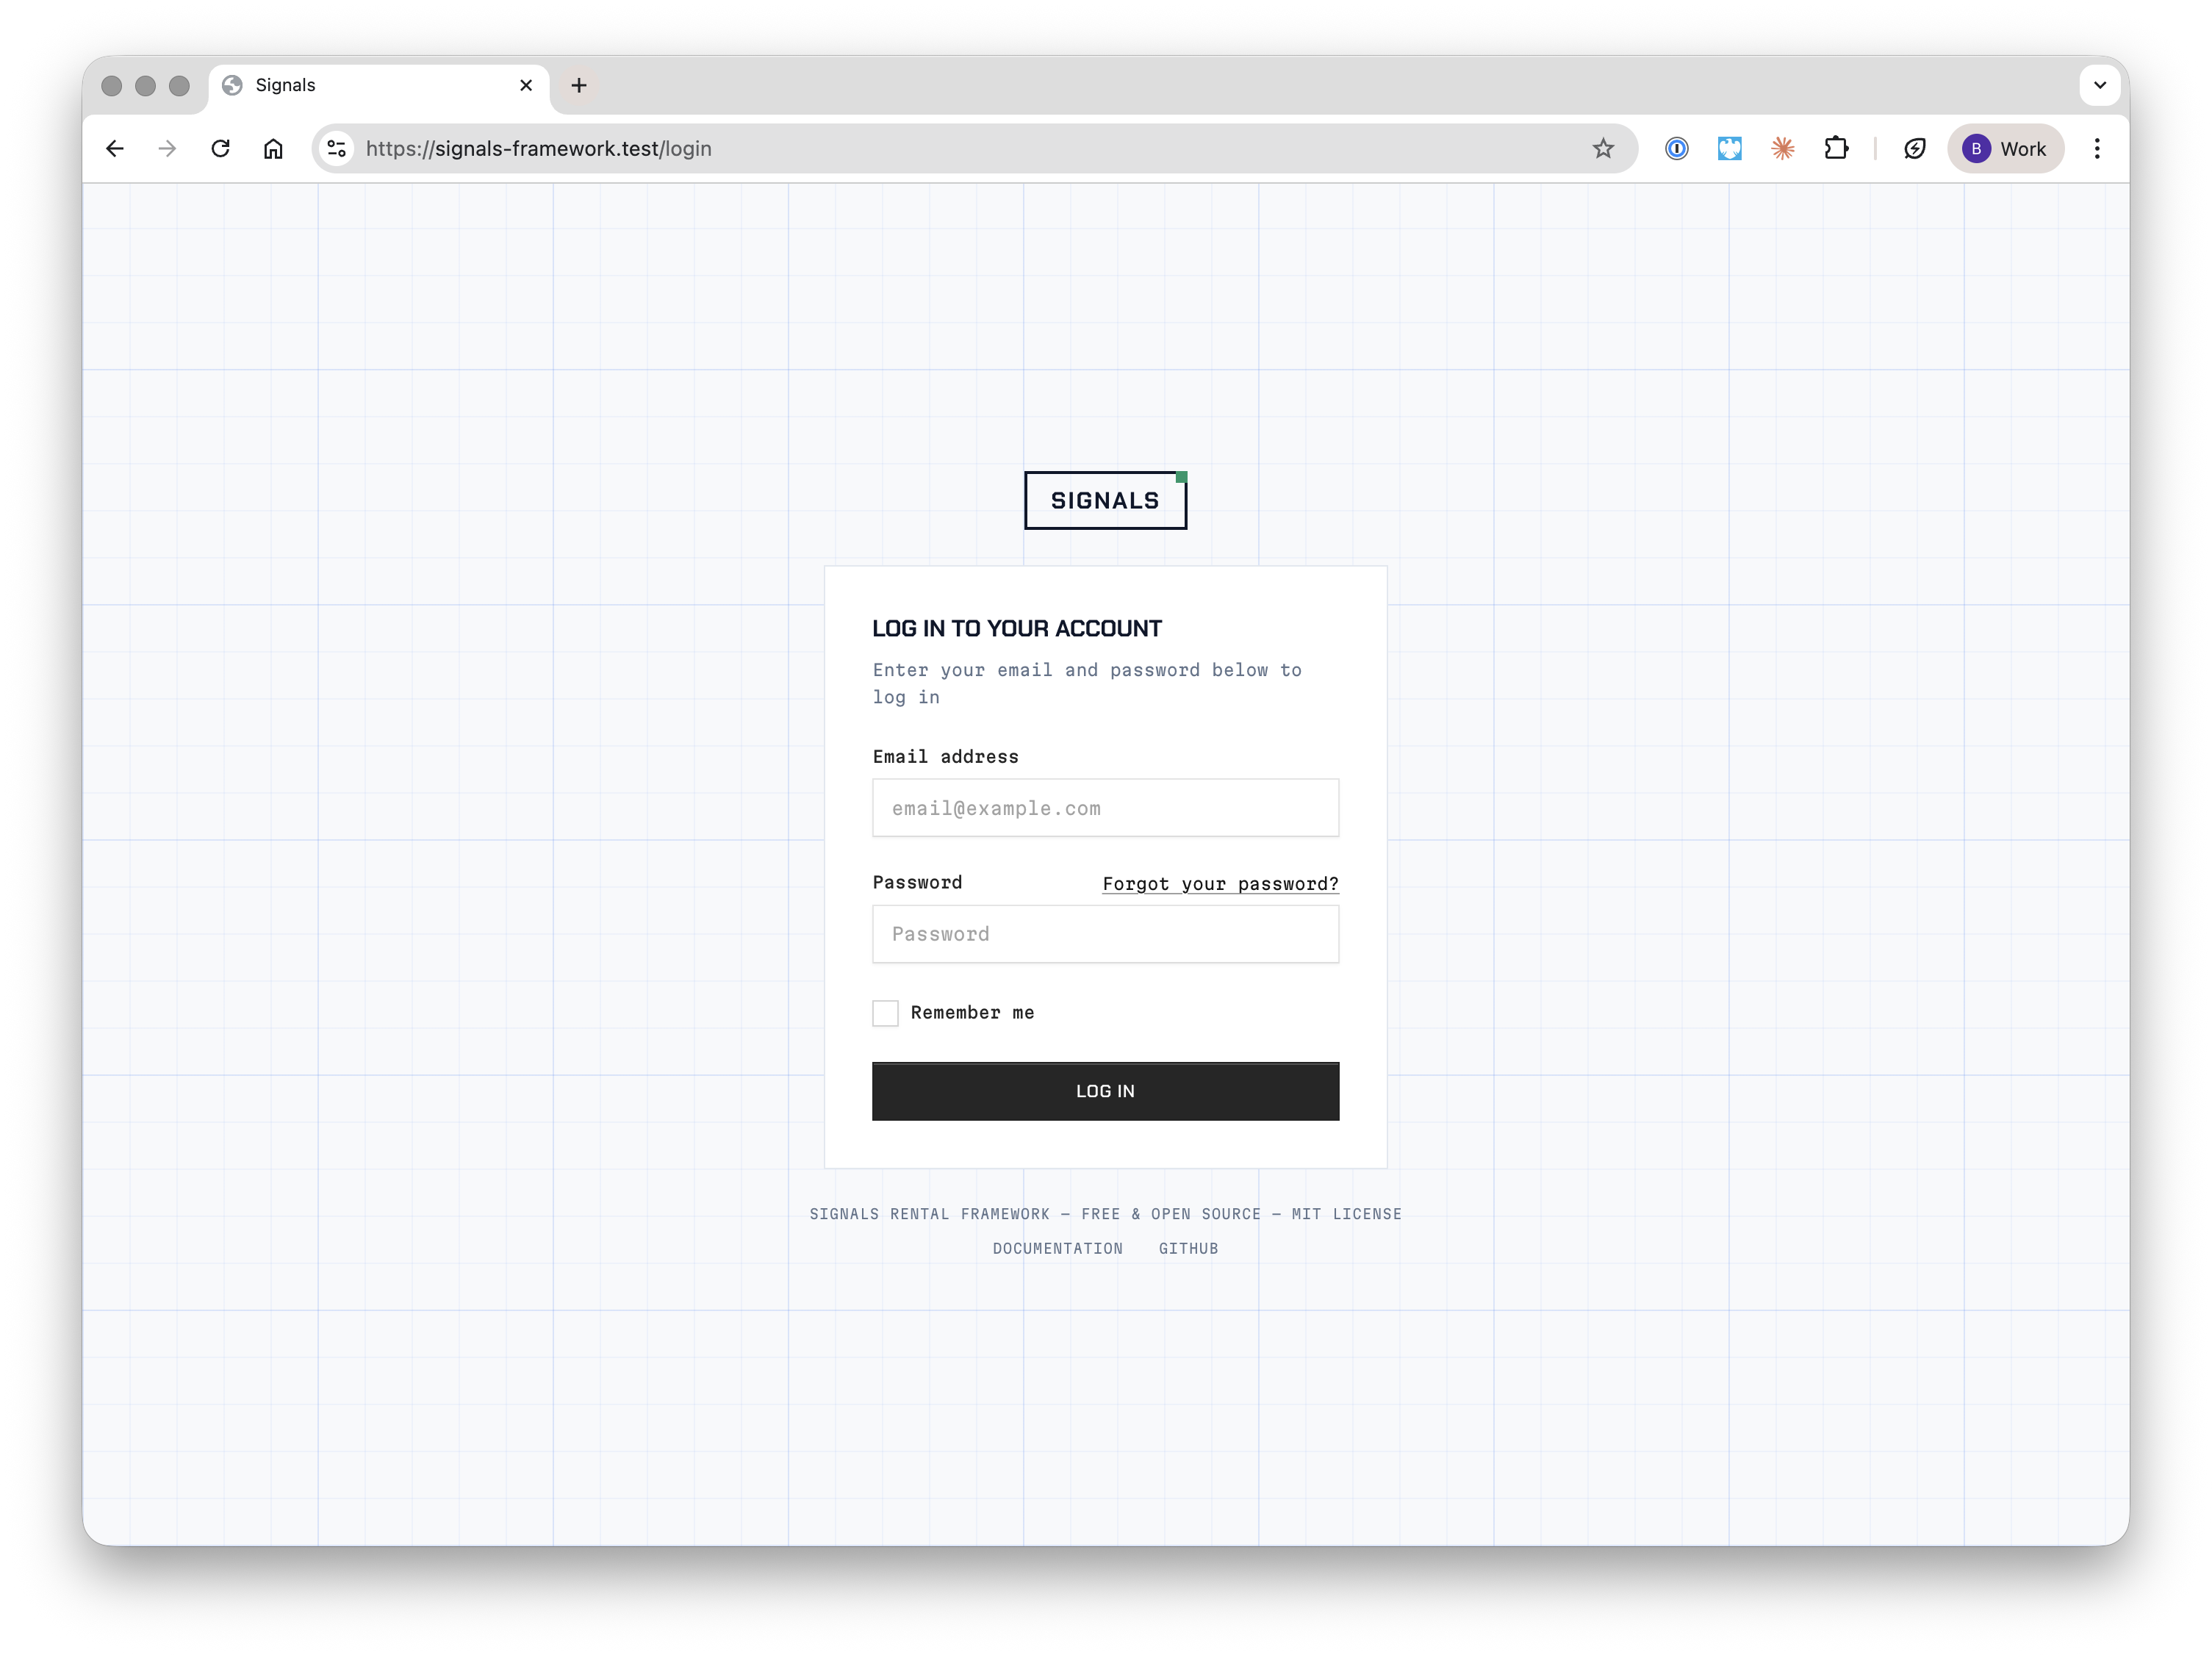
Login is rate-limited to 5 attempts per minute per email/IP combination. After exceeding this limit, you'll be asked to wait before trying again.
Forgot Password
If you've forgotten your password, click Forgot your password? on the login page or visit /forgot-password directly.
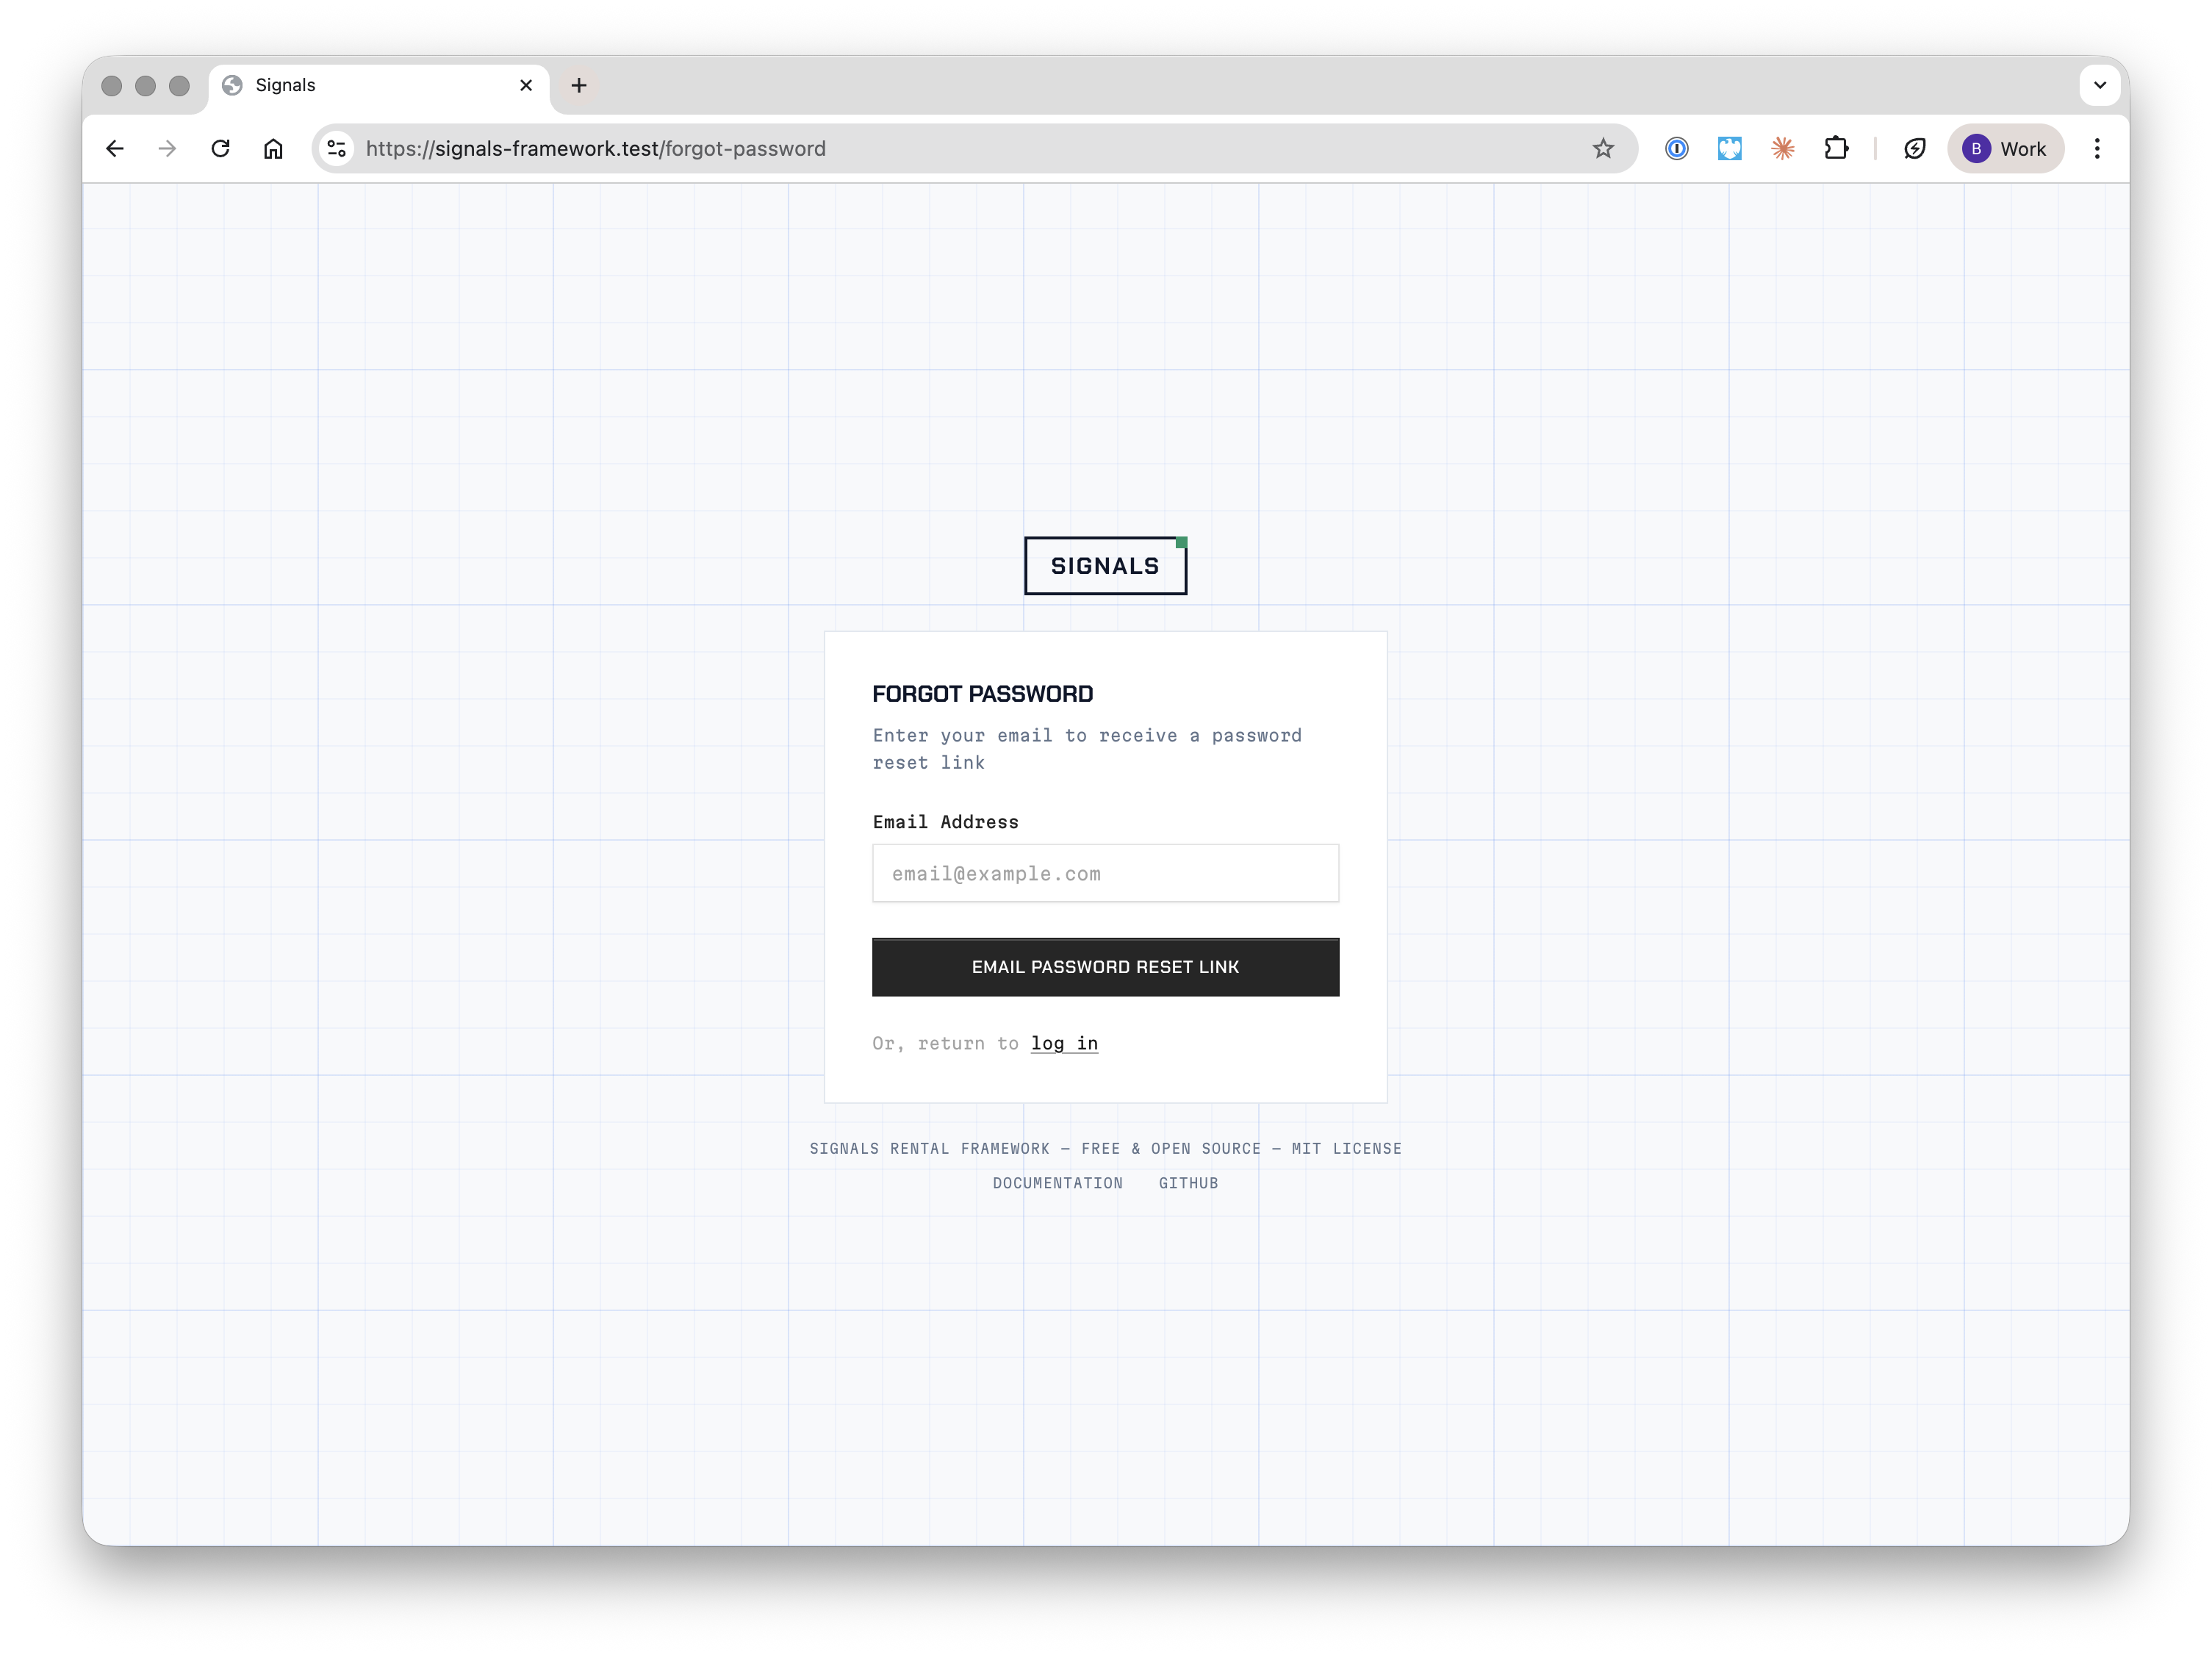
Enter your email address and Signals will send a password reset link. For security, the same confirmation message is shown regardless of whether the email exists in the system.
The reset link expires after 60 minutes. Click the link in the email to set a new password with a minimum of 8 characters.
Email Verification
When email verification is enabled, new users and users who change their email address will be prompted to verify before continuing. A verification email is sent automatically, and can be resent from the verification page.
Two-Factor Authentication
Two-factor authentication (2FA) adds an extra layer of security by requiring a time-based one-time code from an authenticator app in addition to your password.
Enabling 2FA
- Go to Settings → Profile and scroll to the Two-Factor Authentication section.
- Click Enable and confirm your password.
- Scan the QR code with your authenticator app (Google Authenticator, Authy, 1Password, etc.), or enter the setup key manually.
- Enter the 6-digit code from your app to confirm setup.
Recovery Codes
After confirming 2FA, you'll be shown 8 recovery codes. Save these somewhere secure — they are the only way to regain access if you lose your authenticator app. Each code can only be used once.
You can view your current recovery codes or generate a fresh set from the 2FA section at any time.
Login with 2FA
When 2FA is enabled, after entering your email and password you'll be redirected to a verification page. Enter the 6-digit code from your authenticator app to complete sign-in.
If you don't have access to your authenticator app, click Use a recovery code instead and enter one of your saved recovery codes.
Disabling 2FA
Click Disable in the Two-Factor Authentication section and confirm your password. This immediately removes 2FA from your account.
Settings
Once logged in, access your account settings from the user dropdown in the top-right corner. Settings are organised into three tabs.
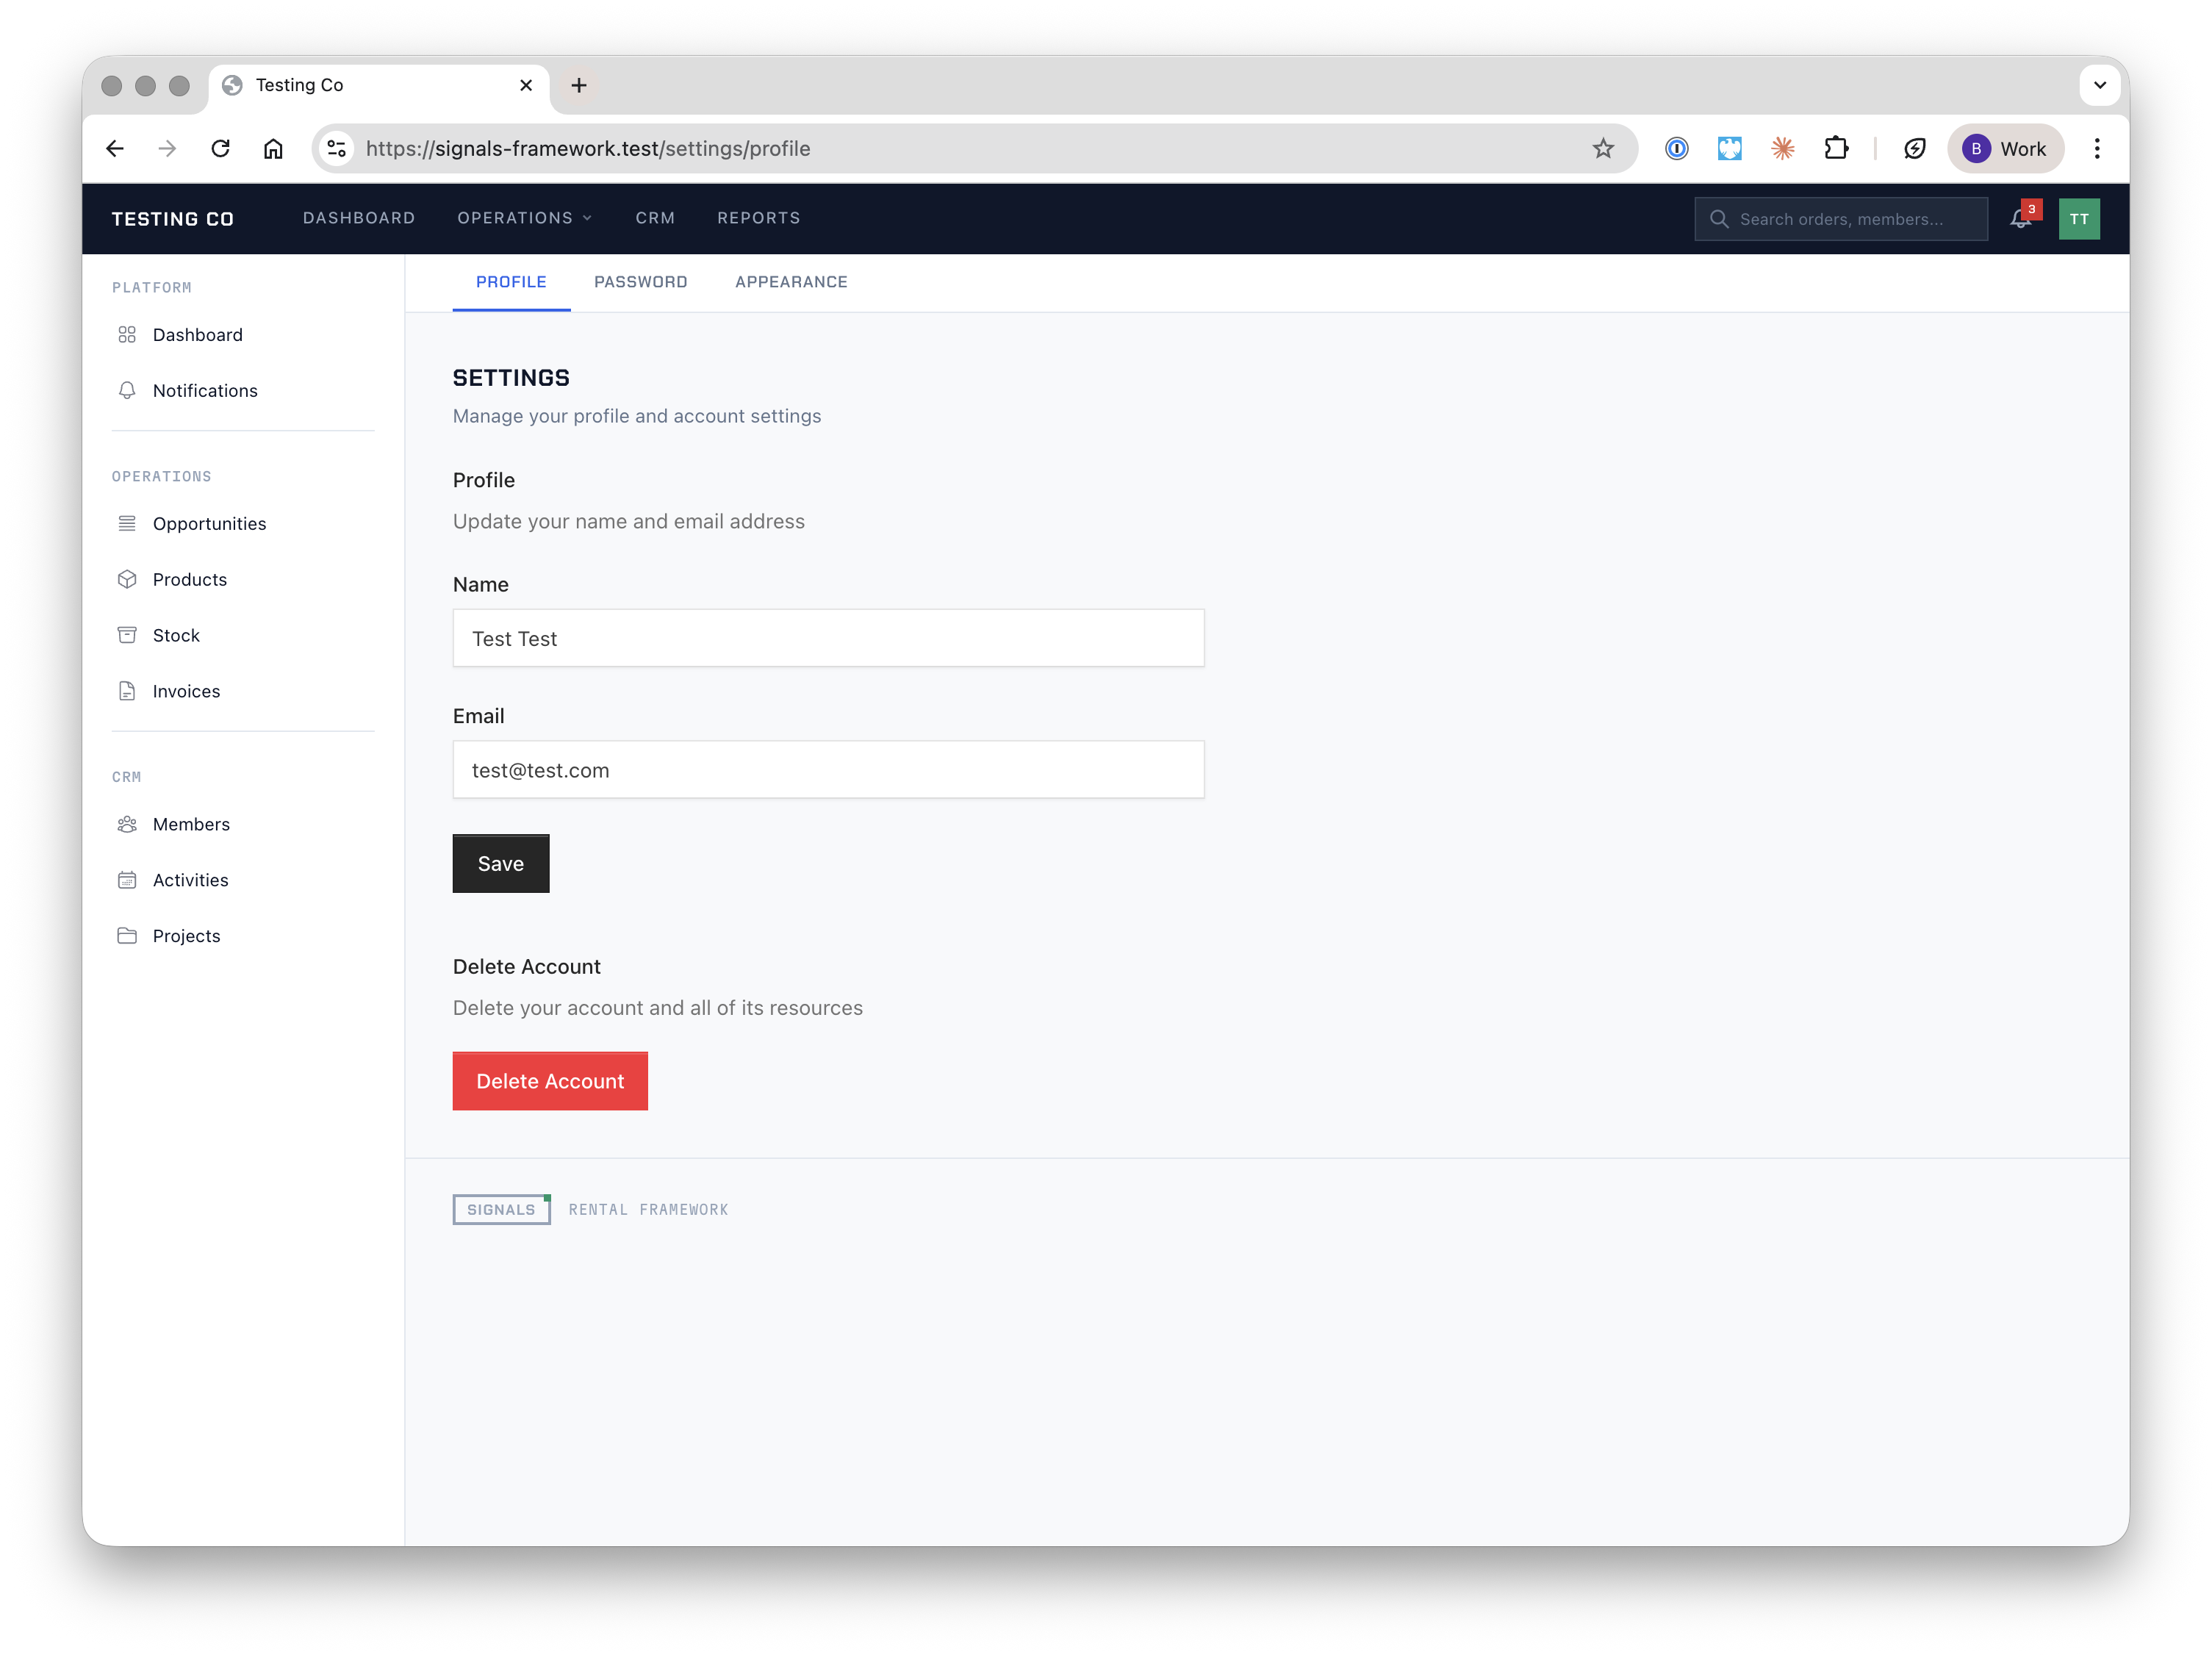
Profile
Update your display name and email address. If you change your email, you'll need to re-verify it before the change takes full effect.
The Profile page also contains the Two-Factor Authentication section (see above) and the option to delete your account — this permanently removes your user and all associated data. You must confirm with your current password.
Password
Change your password by entering your current password and choosing a new one (minimum 8 characters). The new password must be confirmed.
Appearance
Switch between Light, Dark, and System themes. The System option follows your operating system's preference and updates automatically.
Password Confirmation
Certain sensitive actions require you to re-enter your password, even while logged in. This confirmation is cached in your session and won't be asked again for a short period.
Logout
Log out from the user dropdown menu in the header. This ends your session and redirects you to the login page.