Configuration
Configure your company, stores, branding, and modules with the web wizard or terminal command.
Application Setup
After installing infrastructure with signals:install, configure your application with the setup wizard. Signals Rental Framework offers two ways to complete setup — a guided web wizard and a terminal command. Both produce identical results.
Note: Setup can only run once. To re-run the terminal command, use
--forceto overwrite existing settings.
Web Setup Wizard
The web wizard is the recommended way to configure Signals. After infrastructure installation, visit your application URL and you'll be automatically redirected to /setup.
The wizard is a six-step guided process:
| Step | Name | What it configures |
|---|---|---|
| 1 | Company Details | Country, company name, timezone, currency, tax, date formats |
| 2 | Stores & Locations | Physical locations or warehouses |
| 3 | Feature Profile | Which modules are enabled for your business type |
| 4 | Branding | Logo upload and brand colours |
| 5 | Admin Account | First user with owner-level access |
| 6 | Review & Confirm | Summary of all settings before finalising |
Infrastructure Check
Before the wizard begins, Signals runs a pre-flight check to verify your database, migrations, Redis (if configured), and Reverb are healthy. If any check fails, you'll see the failing service with a Retry Checks button. Fix the issue and retry — the wizard won't proceed until all checks pass.
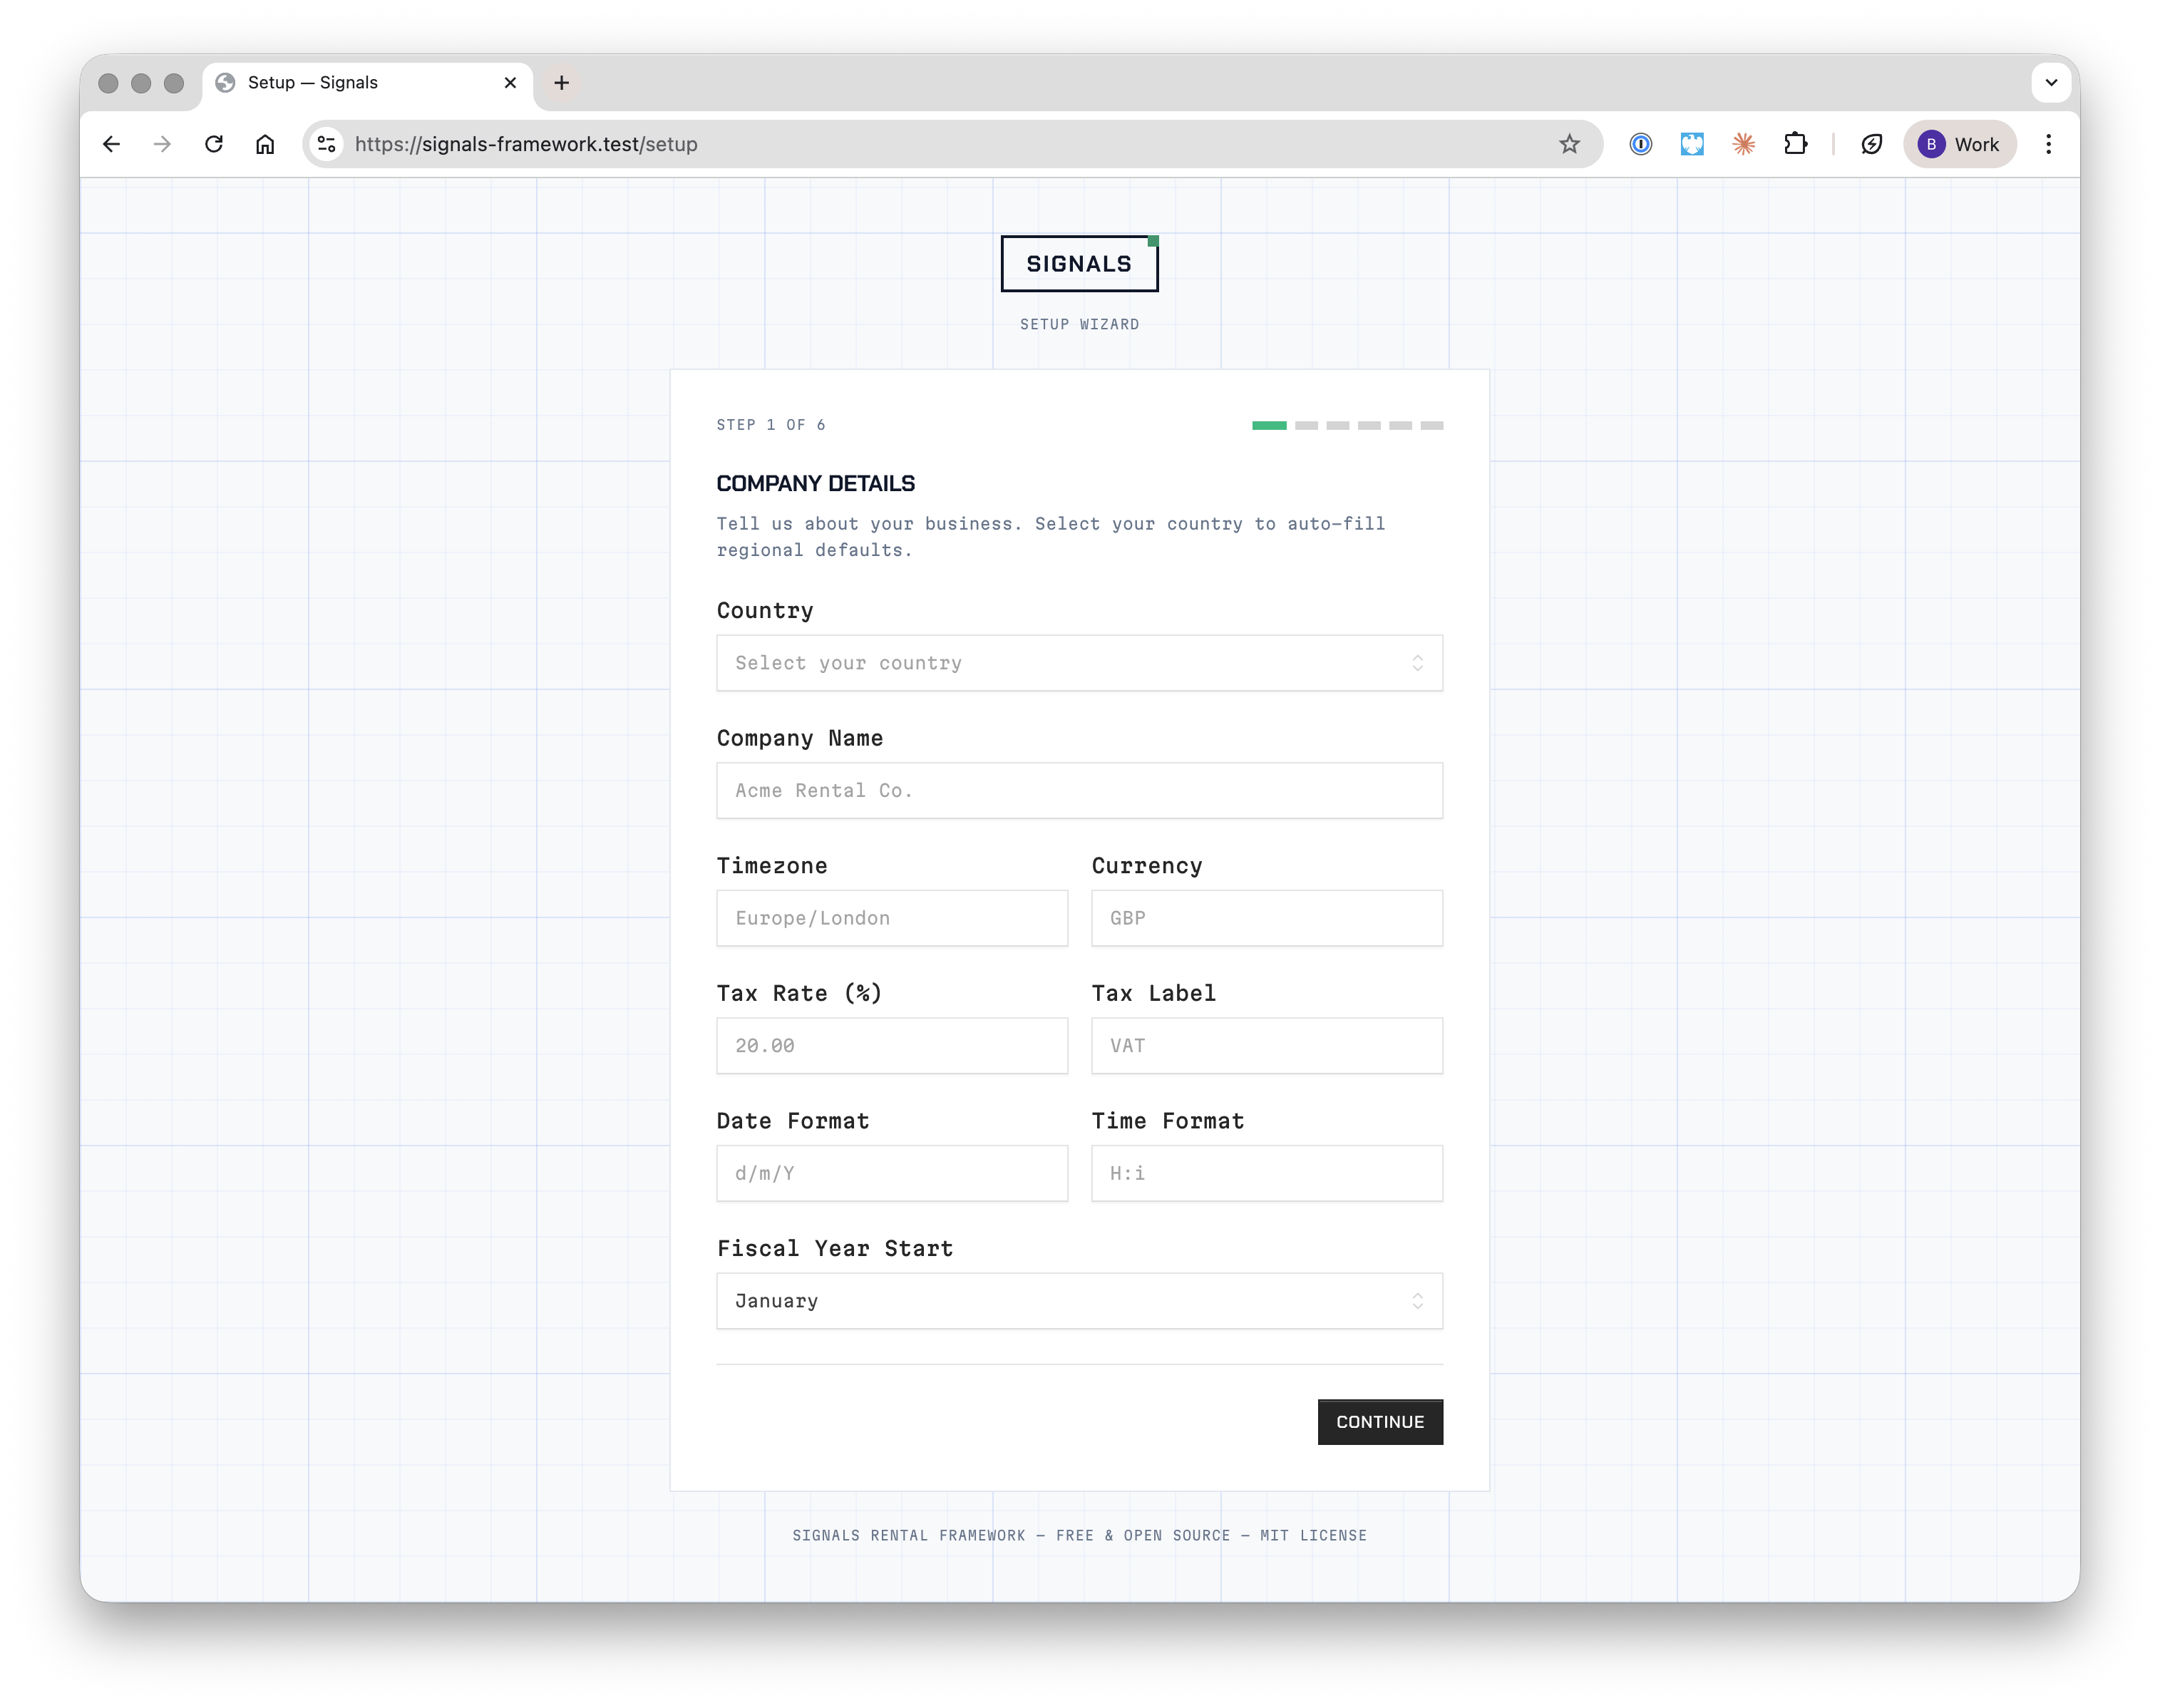
Step 1: Company Details
Select your country to auto-populate sensible defaults for timezone, currency, tax rate, and date formats. You can override any of them.
| Field | Description | Default |
|---|---|---|
| Country | ISO 3166-1 alpha-2 code | — |
| Company Name | Your business name | — |
| Timezone | PHP timezone identifier | Country default |
| Currency | ISO 4217 currency code | Country default |
| Tax Rate | Percentage (0–100) | Country default |
| Tax Label | Display label (e.g. VAT, GST, Tax) | Country default |
| Date Format | PHP date format string | Country default |
| Time Format | PHP time format string | Country default |
| Fiscal Year Start | Month (1–12) | January |
Tip: When you select a country, all regional fields update automatically. For example, selecting
GBsets timezone toEurope/London, currency toGBP, tax rate to20%, and tax label toVAT.
Step 2: Stores & Locations
Every Signals instance requires at least one store — a physical location or warehouse. Add your default store and optionally create additional locations. Each store has a name, full address, and country.
You can designate any store as the default and add or remove stores at any time during setup. Store details can be updated later from the Admin Panel.
Step 3: Feature Profile
Signals is modular. Choose a feature profile that enables or disables modules to match your business type.
| Profile | Description |
|---|---|
| Dry Hire | Equipment rental without crew or services. Ideal for AV, lighting, and sound hire. |
| Full Service | Equipment rental with crew, transport, and services. For full event production. |
| Crew & Services | Focus on crew and service management with minimal stock tracking. |
| General | All modules enabled. Best for companies covering multiple rental types. |
| Minimal | Core quoting and ordering only. Add modules later as you grow. |
The wizard shows which modules are enabled and disabled for your selected profile. See the module availability table below for a full breakdown.
Step 4: Branding
Upload a logo (PNG, JPG, or SVG up to 2MB) and choose your brand colours using colour pickers or hex values. The wizard shows a live preview of your selections.
| Field | Description | Default |
|---|---|---|
| Logo | PNG, JPG, or SVG file | None |
| Primary Colour | Main brand colour (hex) | #1e3a5f |
| Accent Colour | Secondary brand colour (hex) | #3b82f6 |
Step 5: Admin Account
Create the first user with full owner-level access.
| Field | Description |
|---|---|
| Full Name | Display name |
| Email Address | Login email |
| Password | Minimum 8 characters, must be confirmed |
Step 6: Review & Confirm
The final step displays a read-only summary of all your settings — company details, stores, profile, branding, and admin credentials. You can go back to any step to make changes before clicking Complete Setup.
On completion, Signals writes all settings to the database, creates your stores and admin account, marks setup as complete, and redirects you to the dashboard.
Terminal Setup
For automated deployments or developer preference, run the setup wizard from the terminal:
php artisan signals:setup
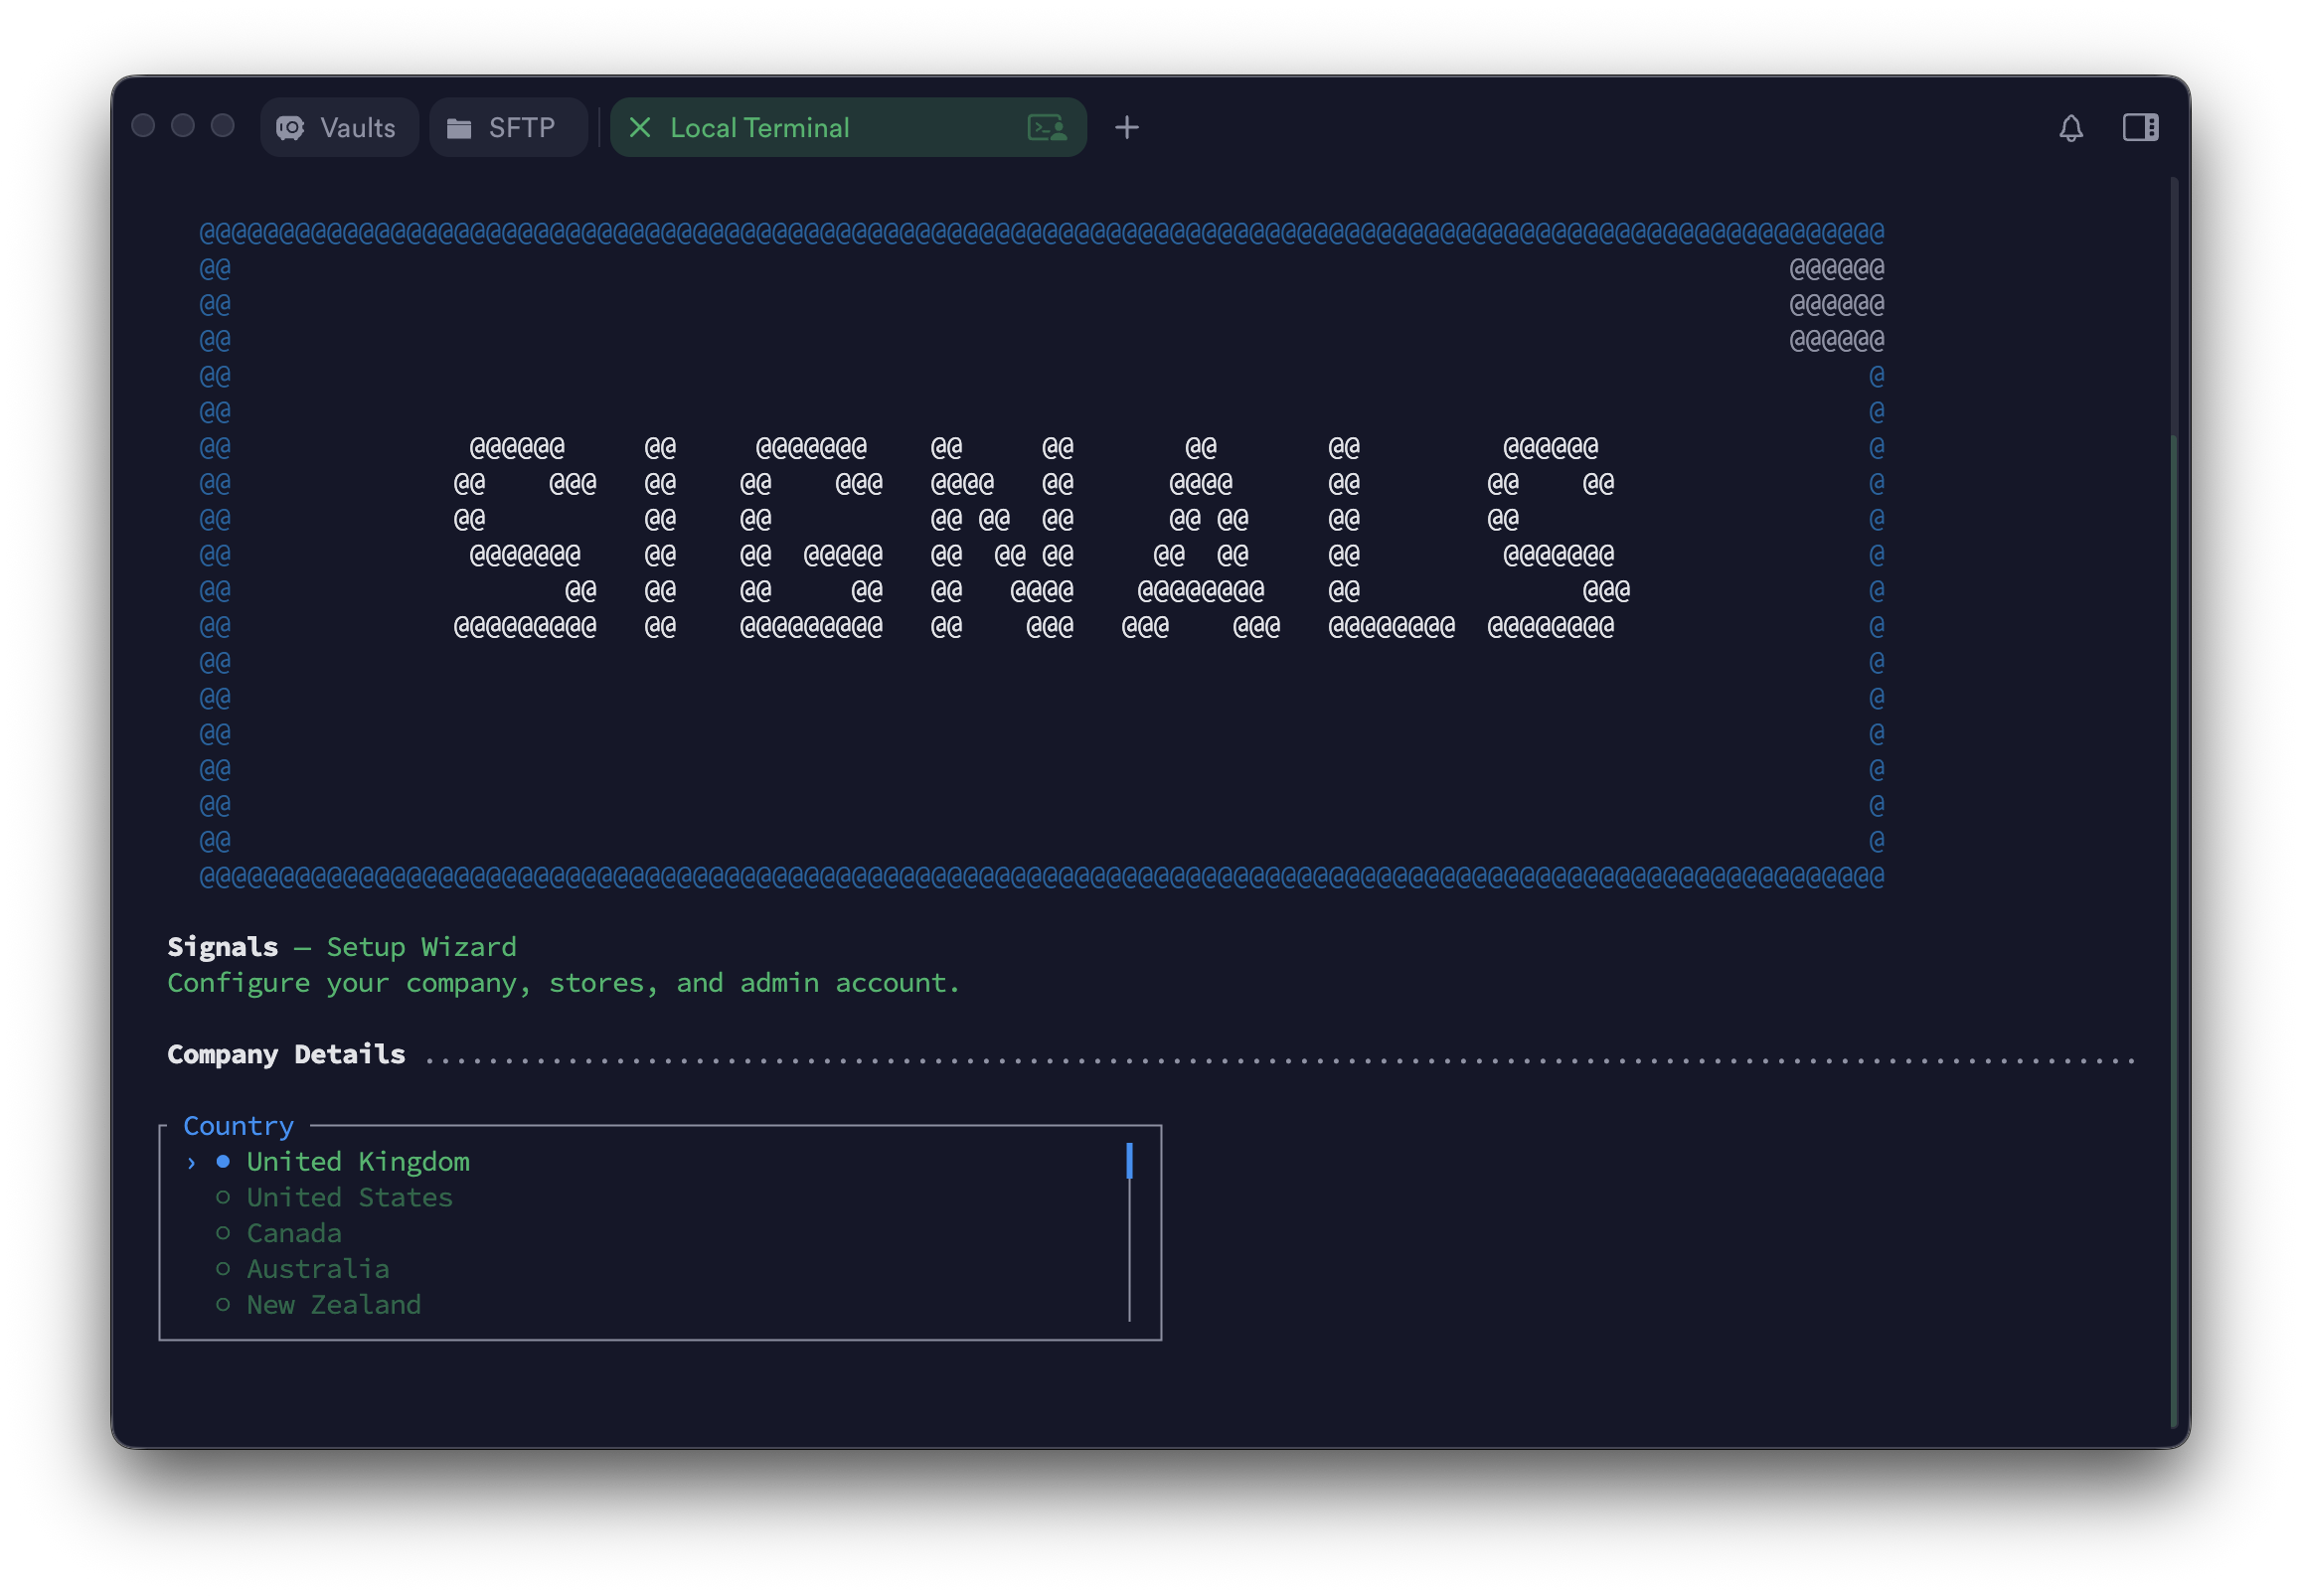
The interactive command walks through the same steps as the web wizard — infrastructure check, company details, stores, profile, branding, and admin account. You review all settings before confirming.
Command Options
| Option | Description | Default |
|---|---|---|
--company-name |
Your company name | — |
--country |
ISO 3166-1 alpha-2 country code | GB |
--timezone |
PHP timezone identifier | Country default |
--currency |
ISO 4217 currency code | Country default |
--tax-rate |
Tax rate percentage | Country default |
--tax-label |
Tax label (e.g. VAT, GST, Tax) | Country default |
--date-format |
PHP date format string | Country default |
--time-format |
PHP time format string | Country default |
--fiscal-year-start |
Fiscal year start month (1-12) | 1 |
--store-name |
Default store name | — |
--profile |
Feature profile | general |
--primary-colour |
Primary brand colour (hex) | #1e3a5f |
--accent-colour |
Accent brand colour (hex) | #3b82f6 |
--logo-path |
Path to a PNG, JPG, or SVG logo file | None |
--admin-name |
Full name | — |
--admin-email |
Email address | — |
--admin-password |
Password (minimum 8 characters) | — |
Non-Interactive Mode
For CI/CD or scripted deployments, pass all required options directly:
php artisan signals:setup --no-interaction --force \
    --company-name="Acme Rentals" \
    --country=GB \
    --store-name="Main Warehouse" \
    --profile=full_service \
    --admin-name="Jane Smith" \
    --admin-email=jane@acme.com \
    --admin-password=securepw123
Options with country-based defaults (timezone, currency, tax, date formats) are optional in non-interactive mode — they inherit from the selected country.
Module Availability by Profile
| Module | Dry Hire | Full Service | Crew | General | Minimal |
|---|---|---|---|---|---|
| Opportunities | Yes | Yes | Yes | Yes | Yes |
| Products | Yes | Yes | No | Yes | Yes |
| Stock | Yes | Yes | No | Yes | No |
| Invoicing | Yes | Yes | Yes | Yes | Yes |
| CRM | Yes | Yes | Yes | Yes | Yes |
| Crew | No | Yes | Yes | Yes | No |
| Services | No | Yes | Yes | Yes | No |
| Projects | No | Yes | Yes | Yes | No |
| Inspections | Yes | Yes | No | Yes | No |
You can change module toggles at any time from the Admin Panel.
Runtime Settings
After setup, all company and application settings are managed through the database-backed settings system. Access settings with the settings() helper:
$companyName = settings('company.name');
$timezone = settings('company.timezone', 'UTC');
Note: Never use
env()orconfig()for user-configurable values. Always usesettings().
Environment Variables
The .env file controls infrastructure-level configuration (database, Redis, S3, Reverb). These are managed by signals:install and should not need manual editing in most cases.
For a full list of environment variables, see .env.example in the project root.