Installation
Install Signals Rental Framework with the guided CLI wizard or quick-start script.
Requirements
Before installing Signals, ensure your environment meets these requirements:
- PHP 8.4 or higher
- PostgreSQL 15 or higher
- Node.js 20 or higher
- Composer 2.x
Optional but recommended:
- Redis 7 or higher (for cache, queues, and sessions — database driver available as fallback)
- An S3-compatible storage provider (for file attachments — local disk available as fallback)
Quick Start
Getting Signals running takes three commands:
| Step | Command | What it does |
|---|---|---|
| 1 | composer setup |
Install dependencies, generate app key, build frontend |
| 2 | php artisan signals:install |
Configure database, Redis, S3, and websockets |
| 3 | php artisan signals:setup |
Set up company, stores, branding, and admin account |
Clone the repository and run the setup script:
git clone https://github.com/signals-rental/framework.git
cd framework
composer setup
composer setup runs these steps in sequence:
- Installs PHP dependencies
- Creates
.envfrom.env.exampleif it doesn't exist - Generates an application key
- Installs npm dependencies and builds frontend assets
- Launches the
signals:installwizard
Once complete, visit your application URL to see the welcome screen:
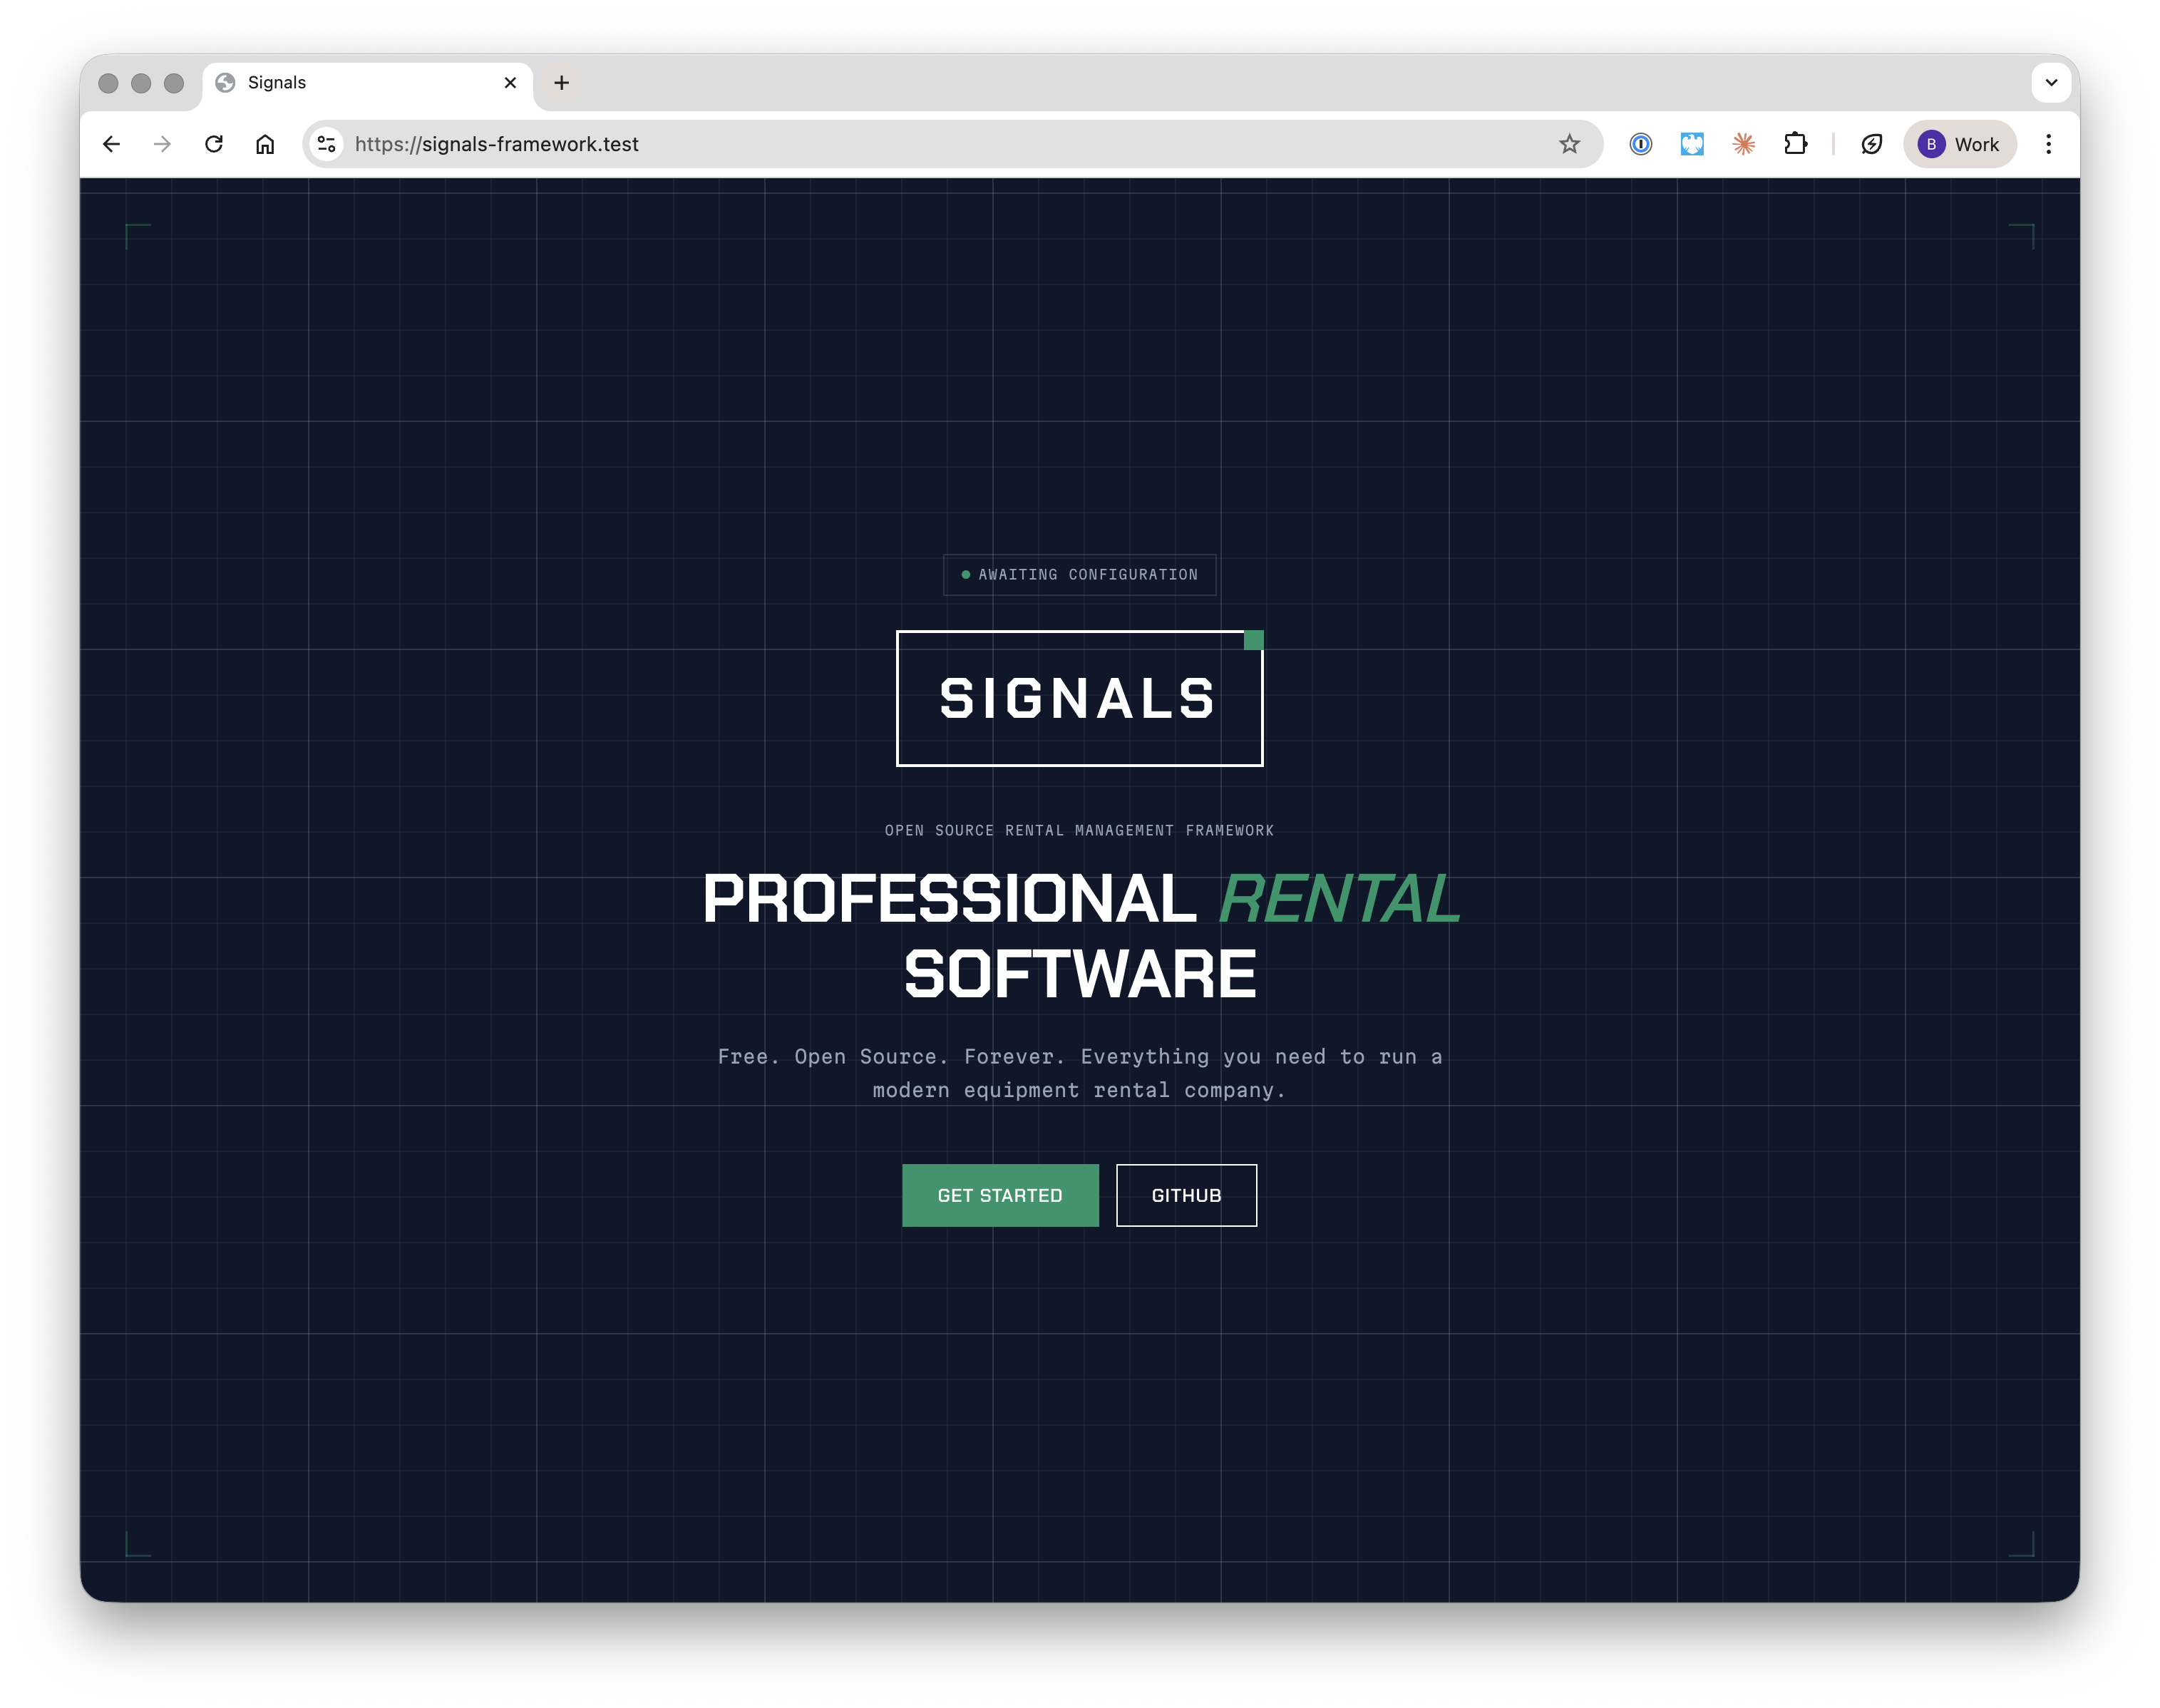
From here, continue with signals:install to configure infrastructure, then signals:setup to configure your company, stores, and admin account.
The Install Wizard
The install wizard configures your infrastructure connections — database, cache, storage, and websockets. Run it with:
php artisan signals:install
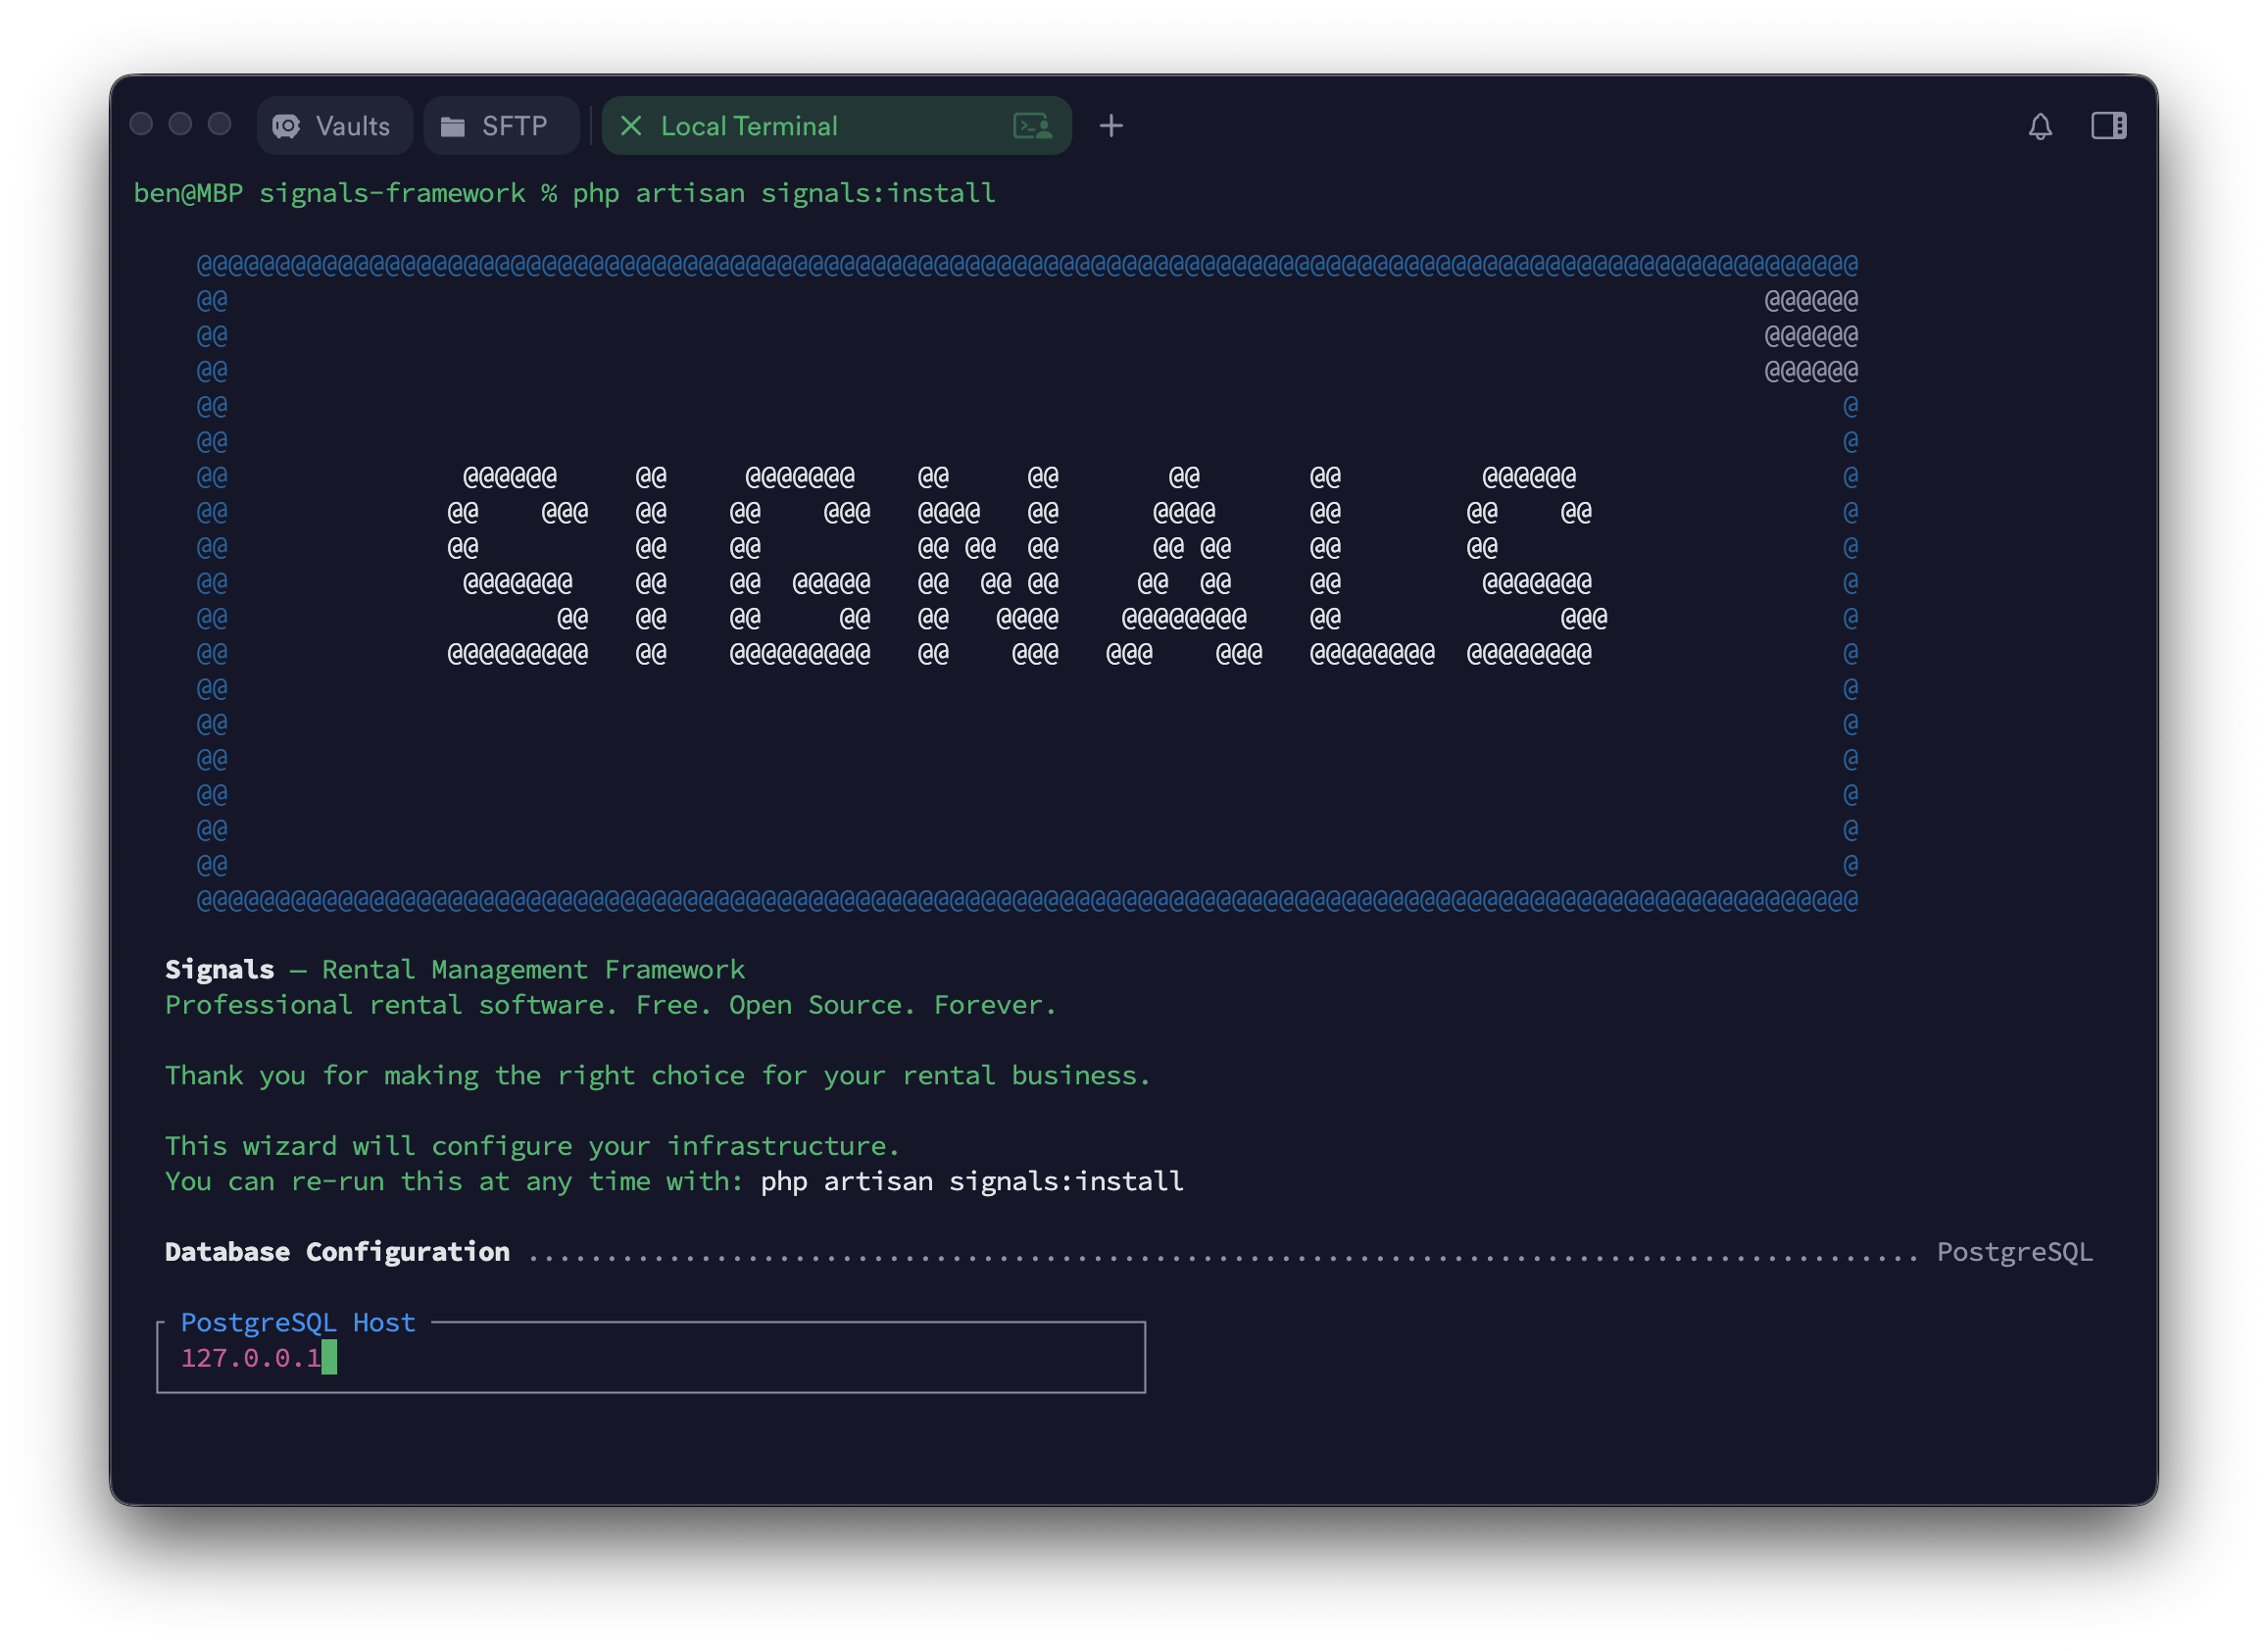
The wizard walks through each service interactively:
You can re-run this command at any time to reconfigure infrastructure.
Database
The wizard prompts for your PostgreSQL connection details, tests connectivity, and creates the database if it doesn't exist. After a successful connection, migrations run automatically.
| Option | Description | Default |
|---|---|---|
--db-host |
PostgreSQL host | 127.0.0.1 |
--db-port |
PostgreSQL port | 5432 |
--db-database |
Database name | signals |
--db-username |
Database username | signals |
--db-password |
Database password | — |
Cache and Queues
Choose between Redis (recommended) or Database as the driver for cache, queues, and sessions.
| Option | Description | Default |
|---|---|---|
--cache-driver |
redis or database |
redis |
--redis-host |
Redis host | 127.0.0.1 |
--redis-port |
Redis port | 6379 |
--redis-password |
Redis password | null |
Tip: If the Redis connection fails during the wizard, you can retry with new credentials or fall back to the database driver.
File Storage
Choose between S3-compatible storage (recommended for production) or local disk.
Supported S3 providers:
| Provider | Path Style | Default Endpoint |
|---|---|---|
| AWS S3 | No | — |
| Minio | Yes | http://localhost:9000 |
| DigitalOcean Spaces | No | https://{region}.digitaloceanspaces.com |
| Cloudflare R2 | Yes | https://{account_id}.r2.cloudflarestorage.com |
| Other S3-compatible | No | — |
The wizard tests upload, read, and delete operations to verify your credentials before saving.
| Option | Description |
|---|---|
--storage-driver |
s3 or local |
--s3-provider |
aws, minio, digitalocean, r2, other |
--s3-bucket |
Bucket name |
--s3-region |
Region |
--s3-key |
Access key ID |
--s3-secret |
Secret access key |
--s3-endpoint |
Endpoint URL (required for non-AWS providers) |
Websockets
The wizard auto-generates Reverb app credentials (ID, key, and secret) and prompts for host, port, and scheme.
| Option | Description | Default |
|---|---|---|
--reverb-host |
Reverb host | 0.0.0.0 |
--reverb-port |
Reverb port | 8080 |
--reverb-scheme |
http or https |
http |
Finalising
After all services are configured, the wizard:
- Generates an
APP_KEYif one doesn't exist - Prompts for your application URL
- Installs npm dependencies and builds frontend assets (skip with
--skip-npm) - Caches configuration, routes, and views
Non-Interactive Mode
For CI/CD or automated deployments, pass all required options directly:
php artisan signals:install --no-interaction \
    --db-host=127.0.0.1 \
    --db-password=secret \
    --cache-driver=redis \
    --storage-driver=local \
    --app-url=https://signals.example.com
Note: In non-interactive mode, options without defaults (like
--db-password) are required. Options with defaults will use the default value when omitted.
Running the Application
Start the development server with all services:
composer dev
This starts the web server, queue worker, log viewer, Vite dev server, and Reverb websocket server concurrently.
Checking Status
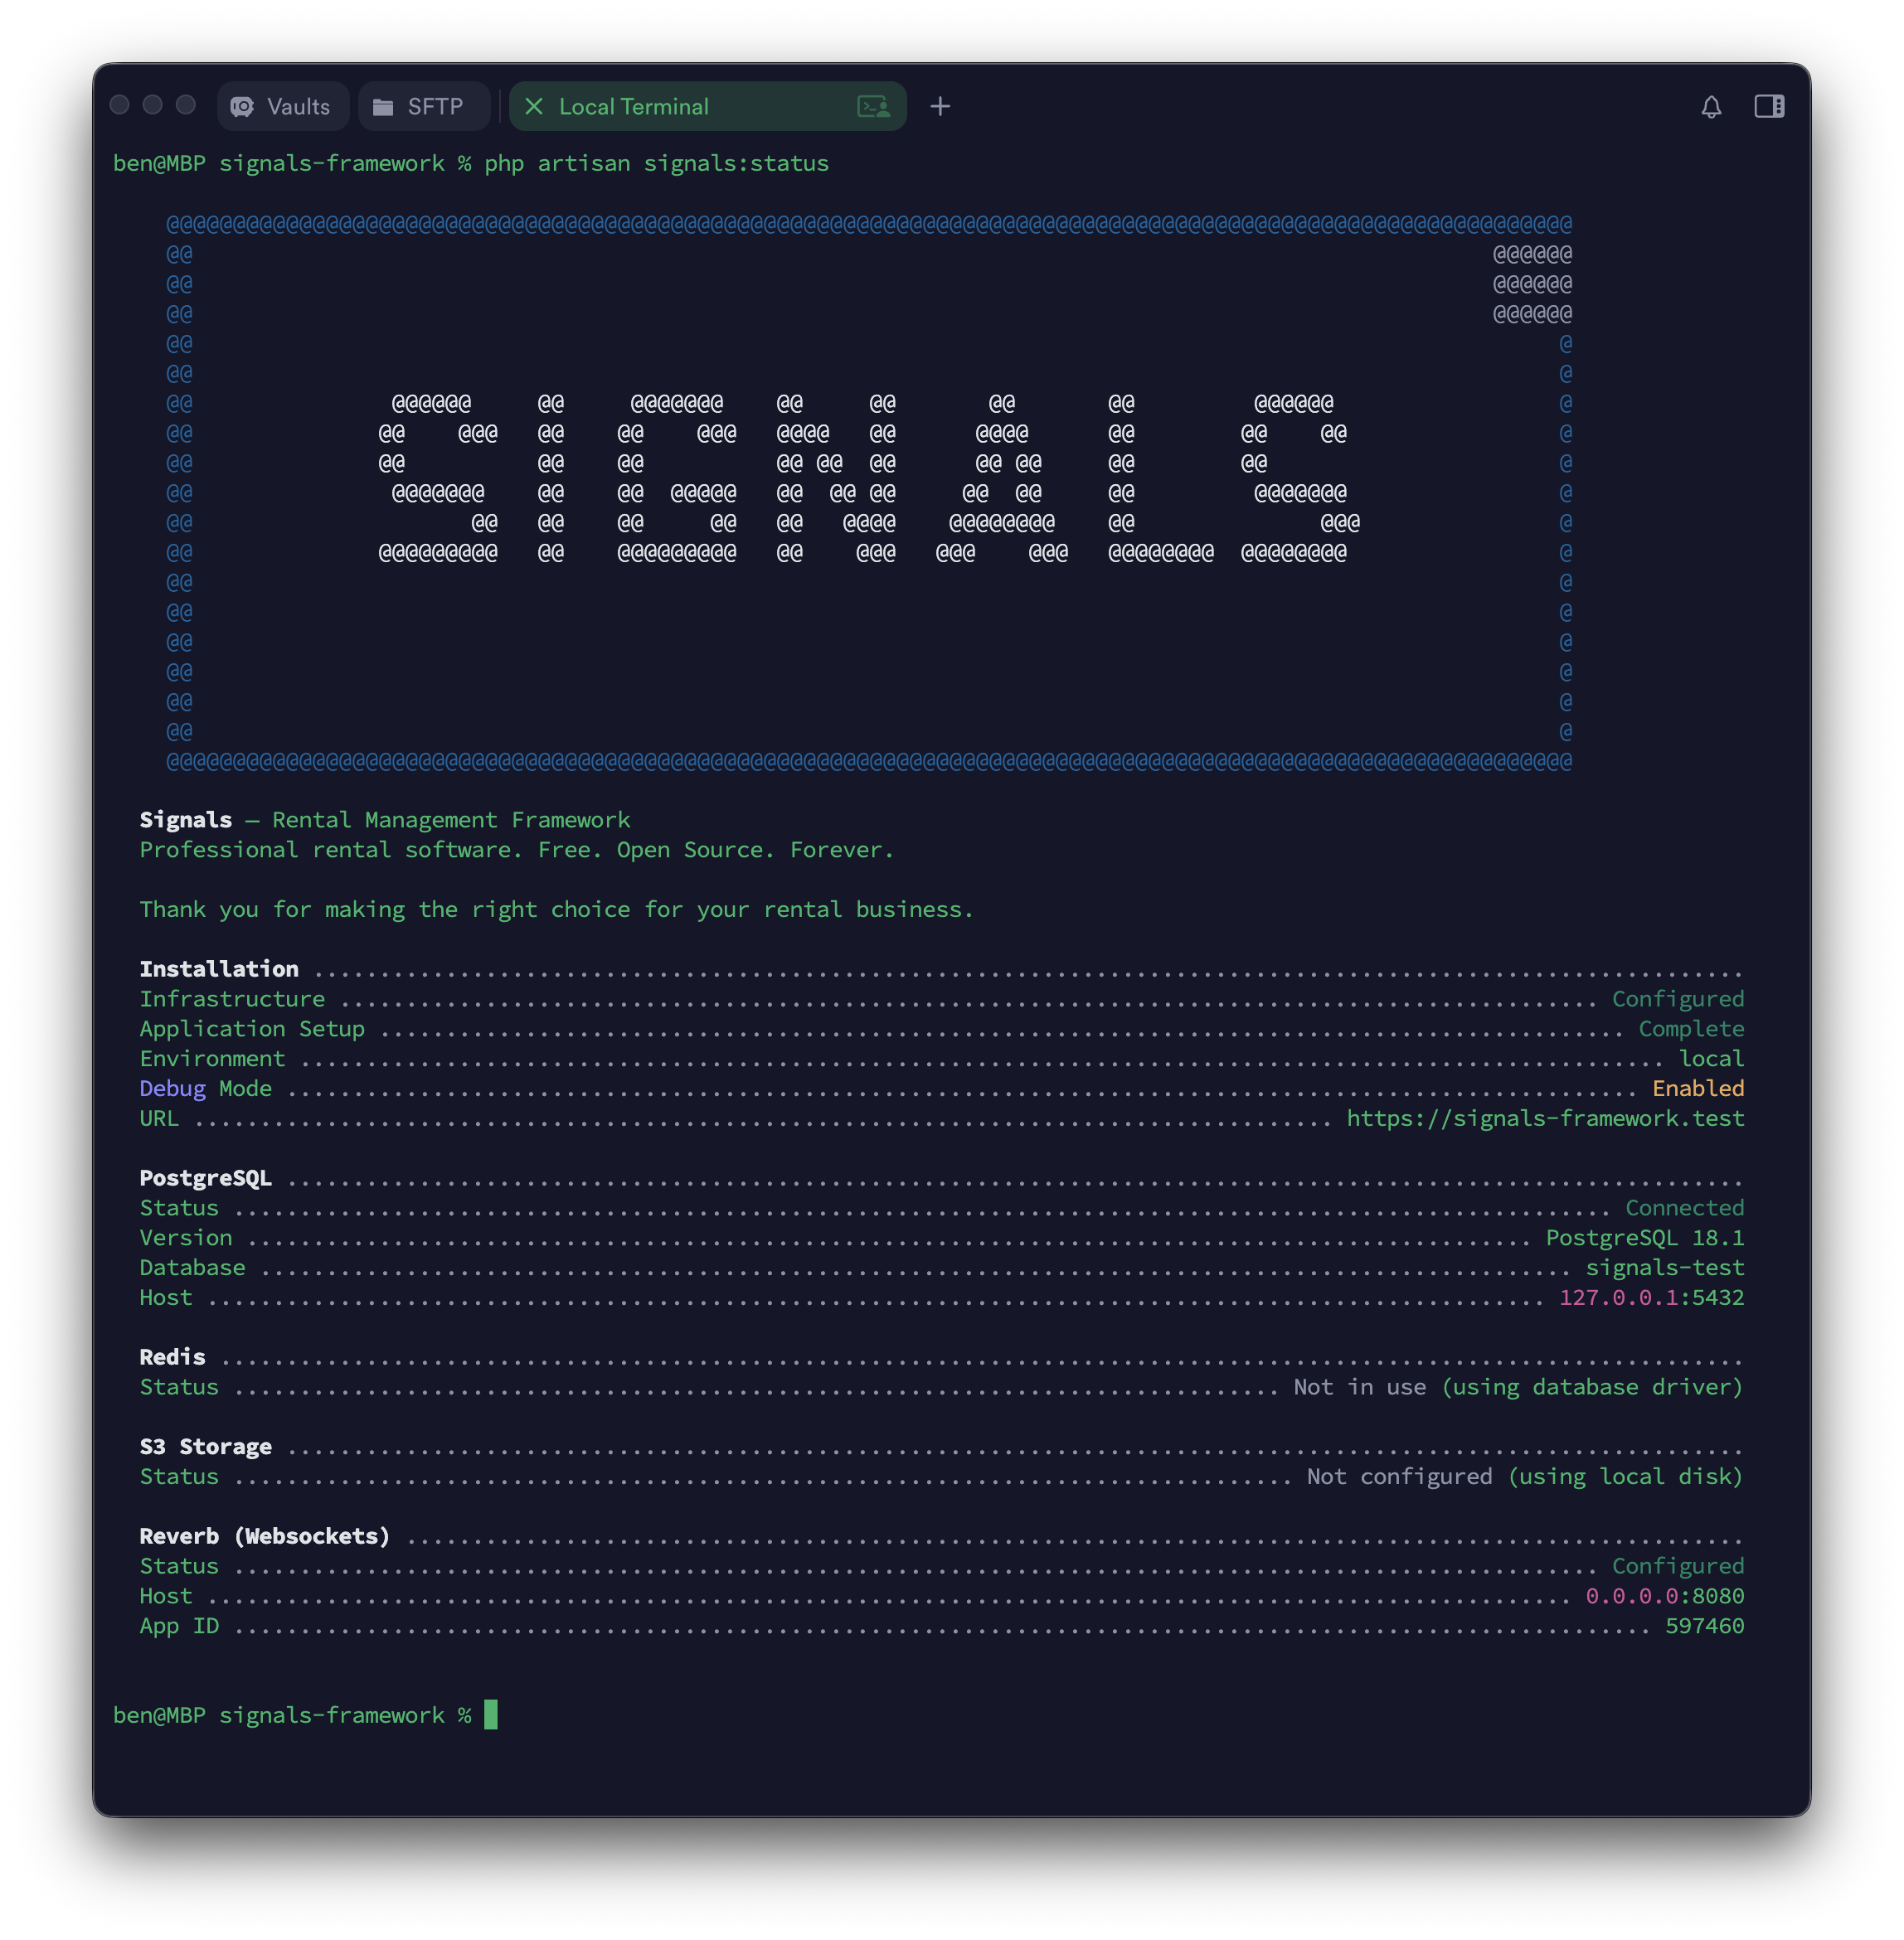
Run signals:status at any time to see your installation health:
php artisan signals:status
| Section | What it checks |
|---|---|
| Installation | Whether infrastructure and application setup are complete |
| PostgreSQL | Connection health, version, database name, and host |
| Redis | Connection health, version, and which services use it (cache, queue, sessions) |
| S3 Storage | Connection health, bucket name, and region |
| Reverb | Configuration status, host, port, and app ID |
Welcome Command
After a fresh composer install, Signals displays a welcome message with getting-started instructions:
php artisan signals:welcome
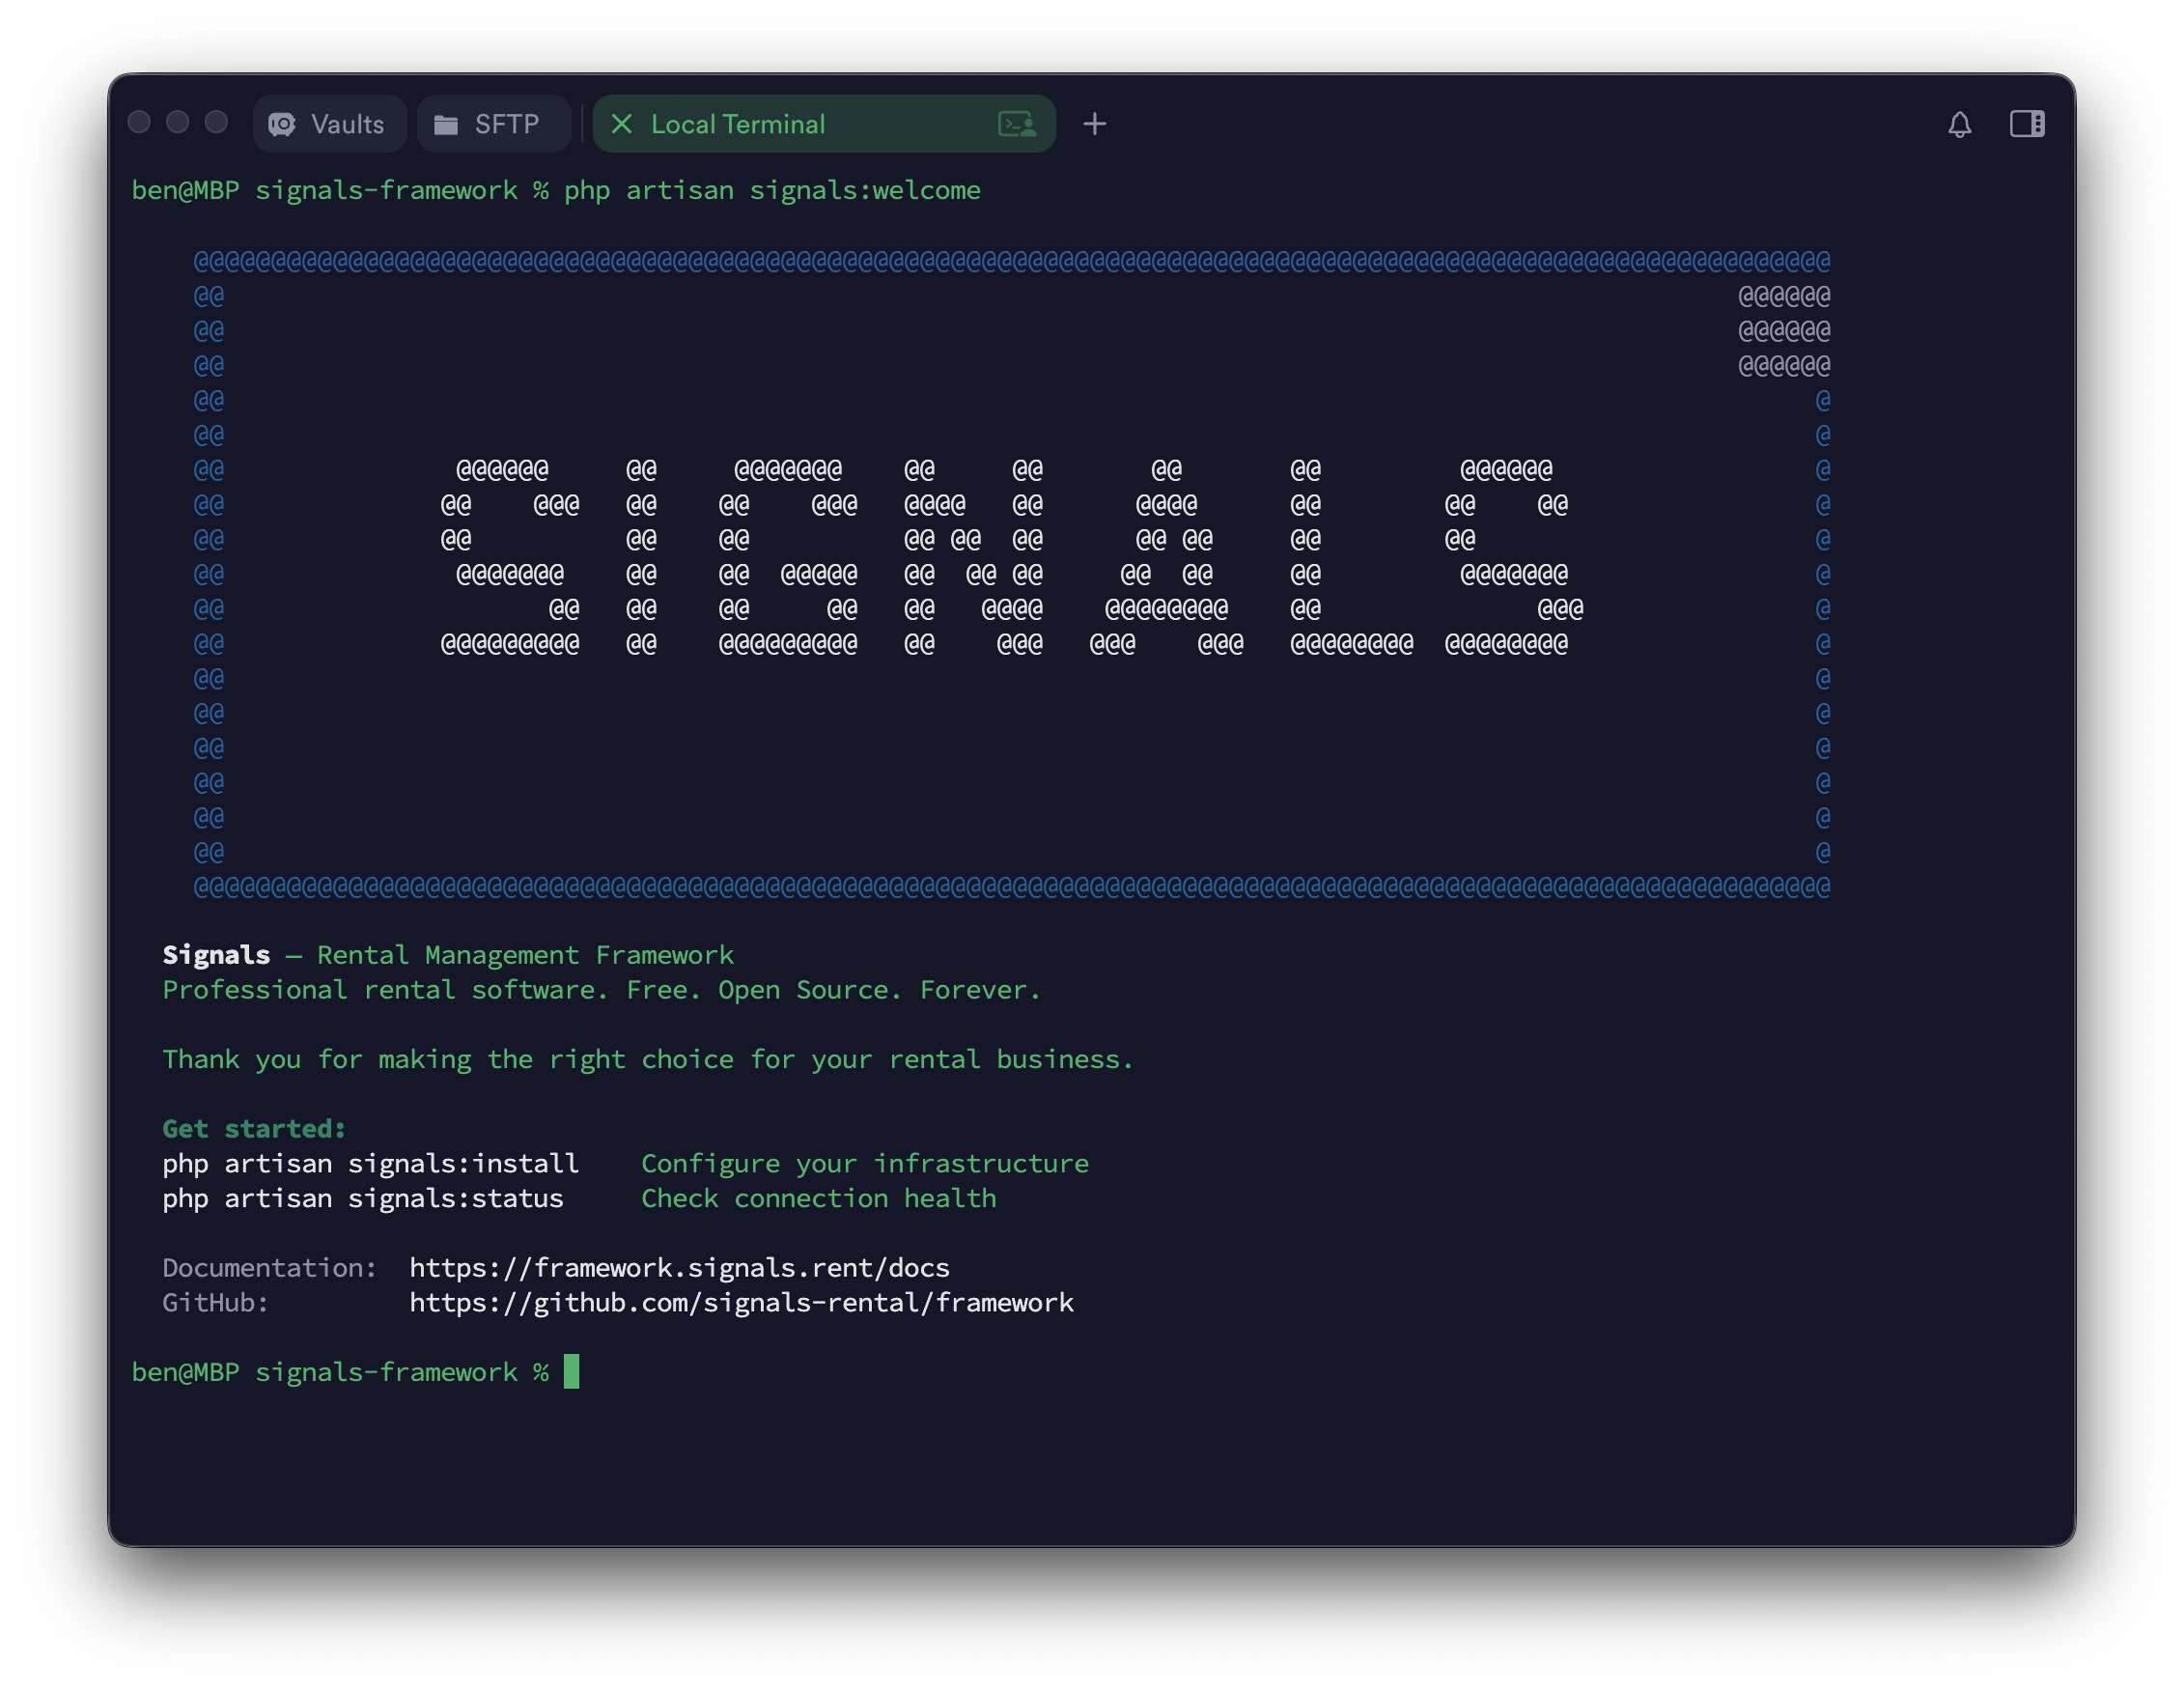
This is a hidden command that runs automatically — you don't need to call it directly.